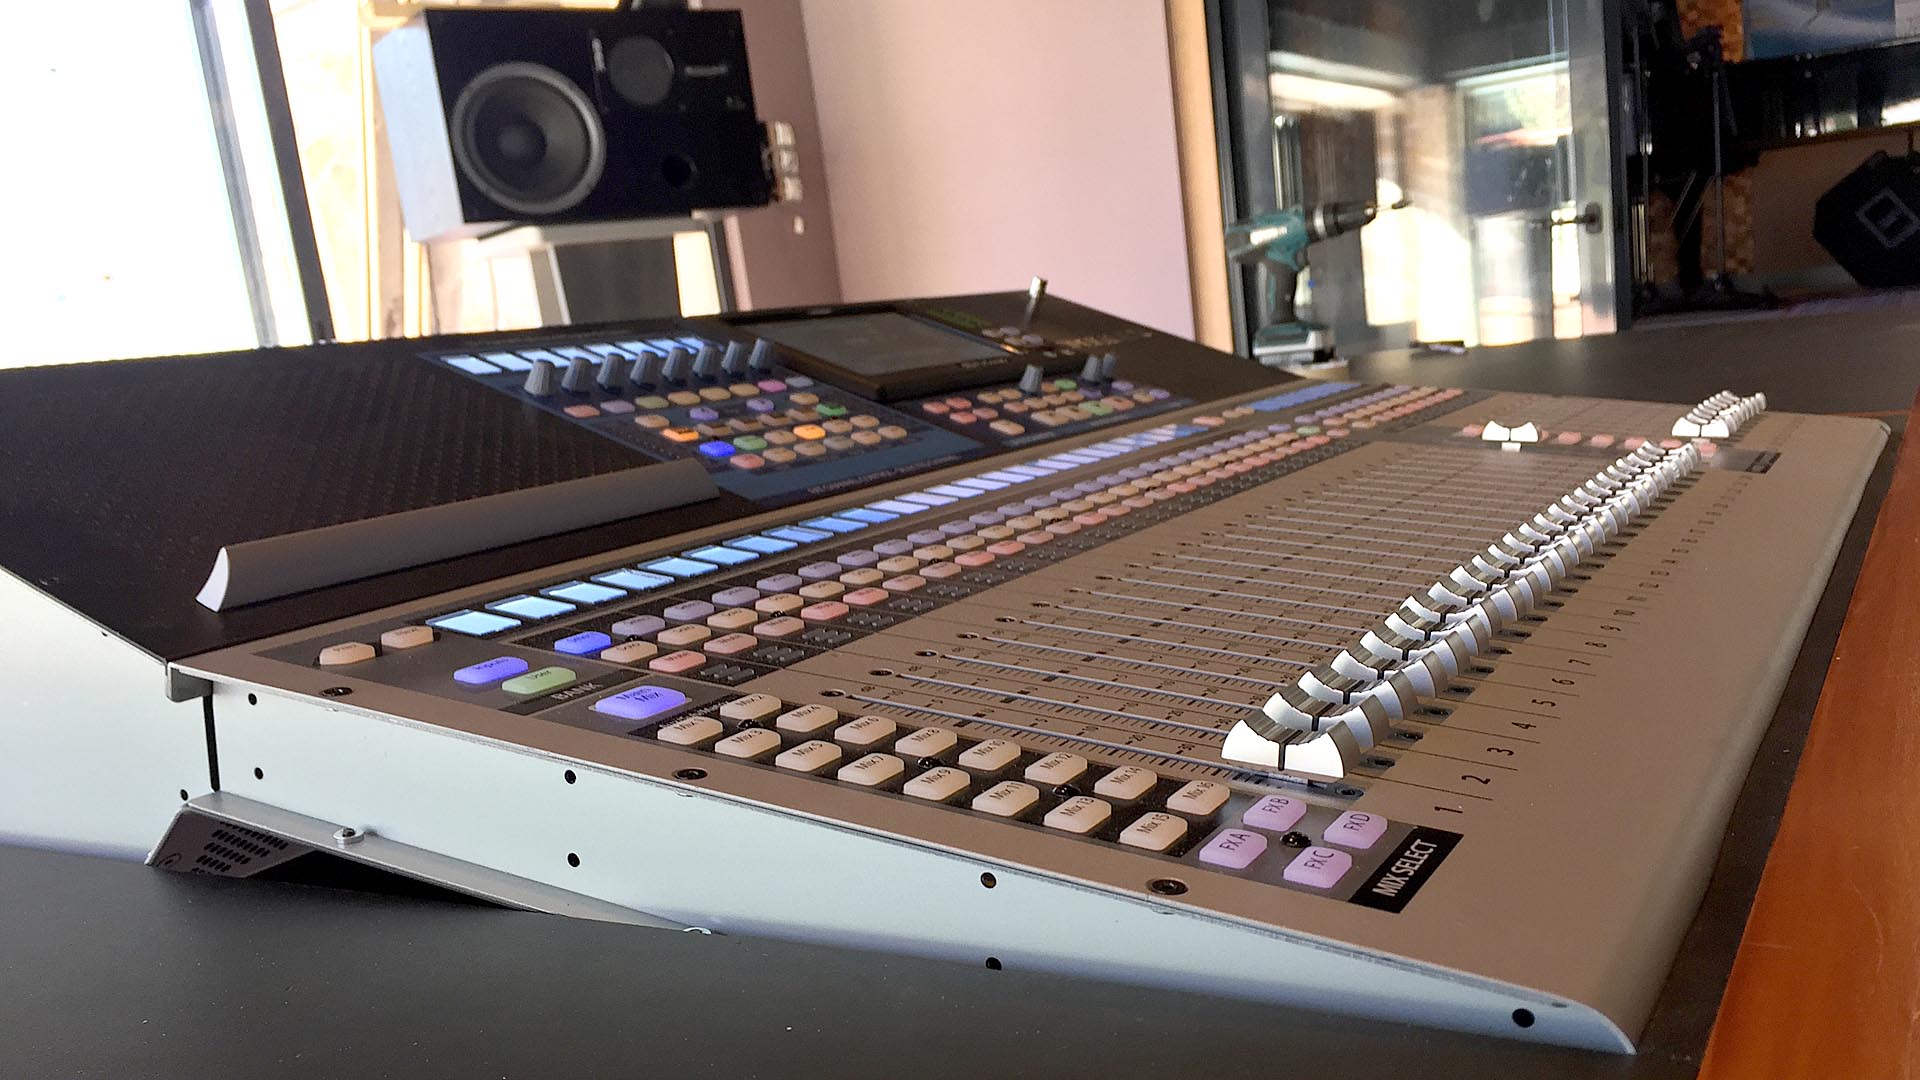
Modifying the Presonus Studio Live 32 Mklll digital mixing console
We build wooden cheeks for our Presonus mixing console.
See our photo’s below with constructions details and measurements. Some prototypes were build before the final product was approved. We finally liked the oak console best. In the same batch we made cheeks for a few Behringer synths.
See pictures below for all stages of the design. Click image for more details.

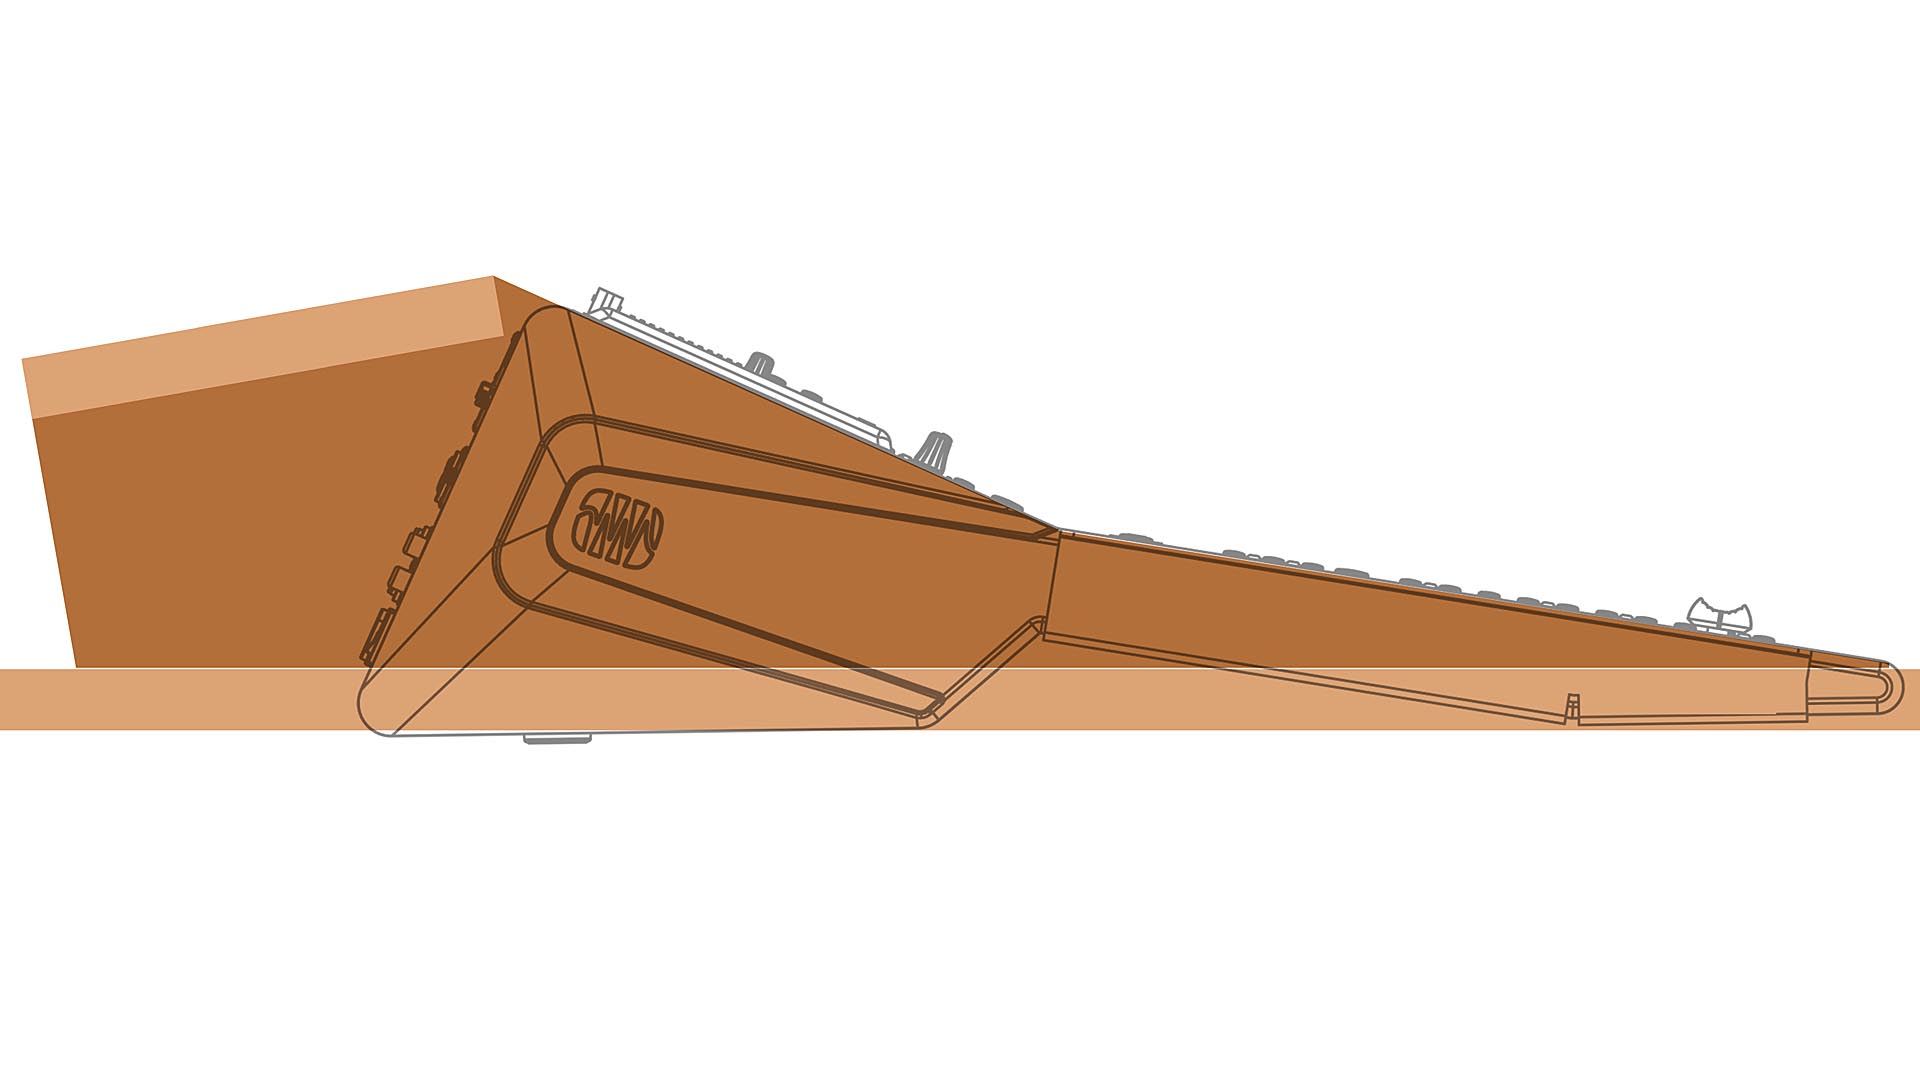
Computer rendering
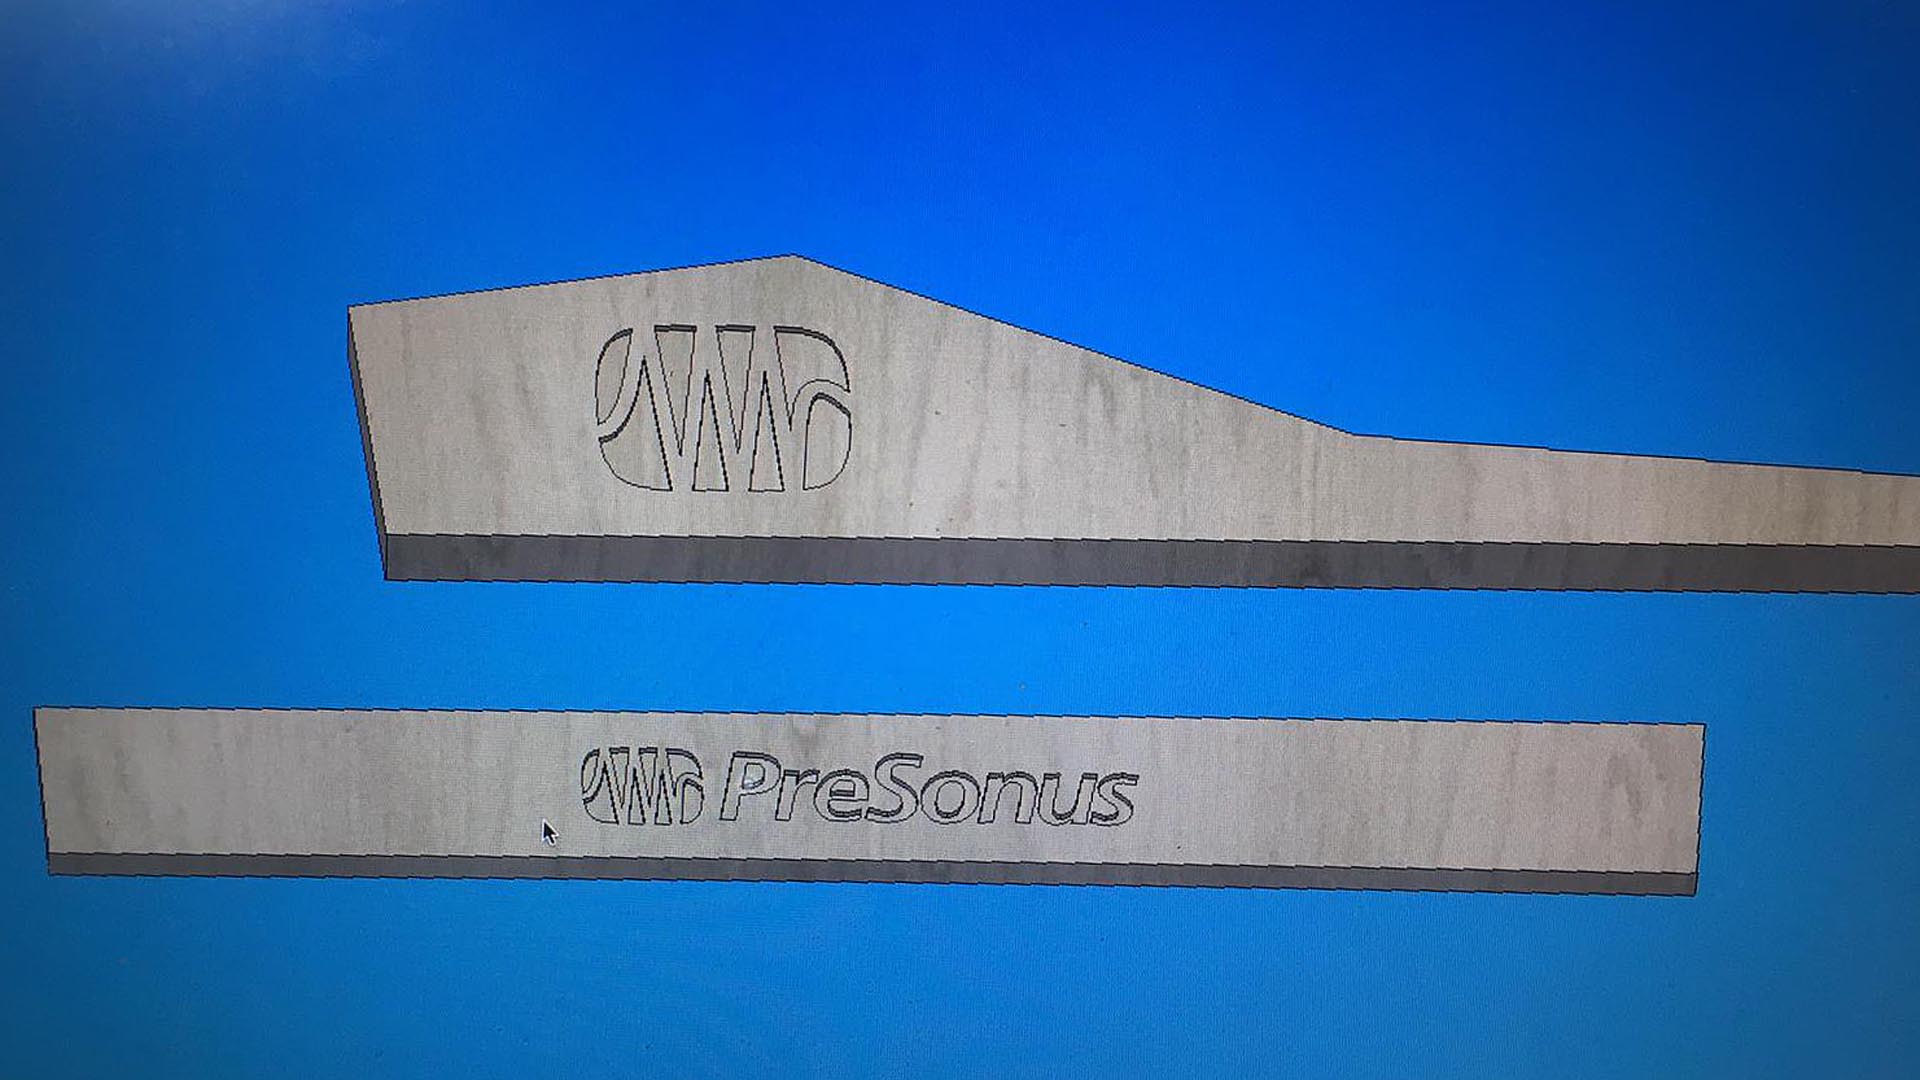

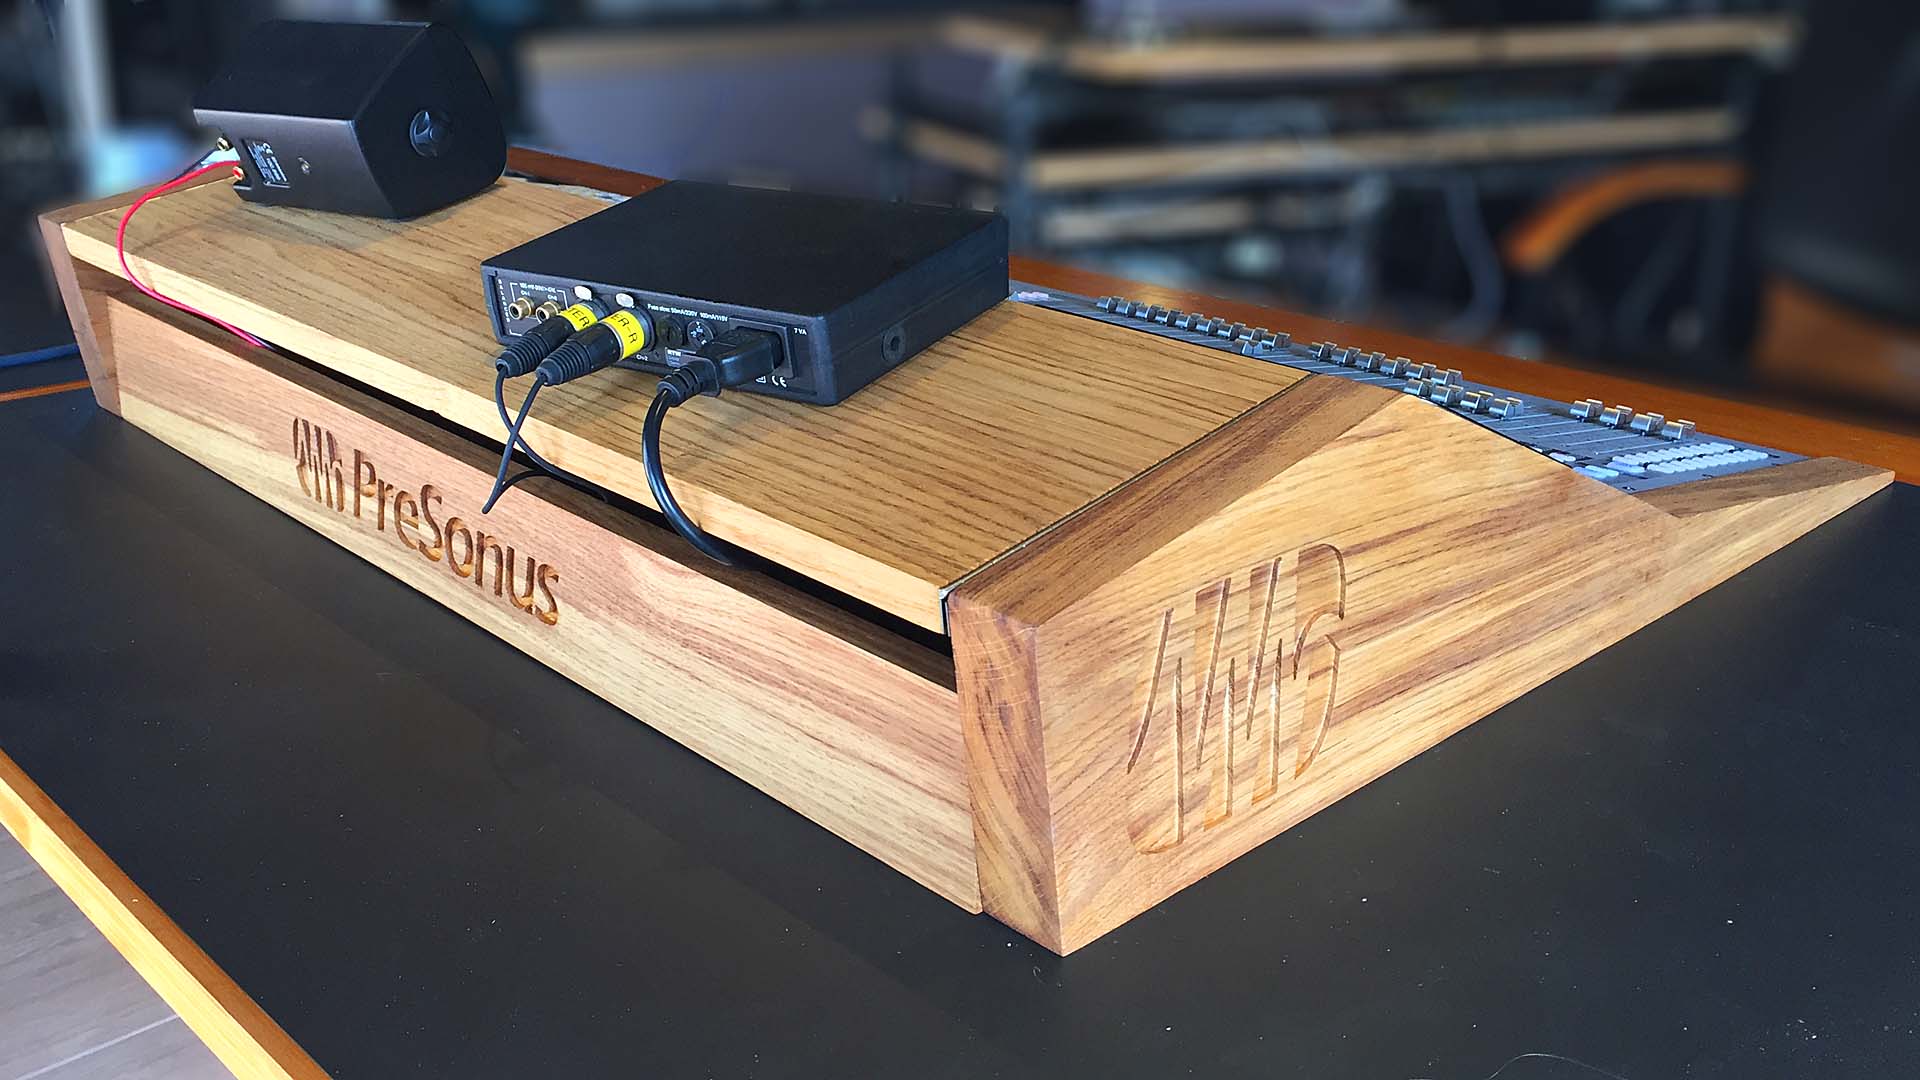
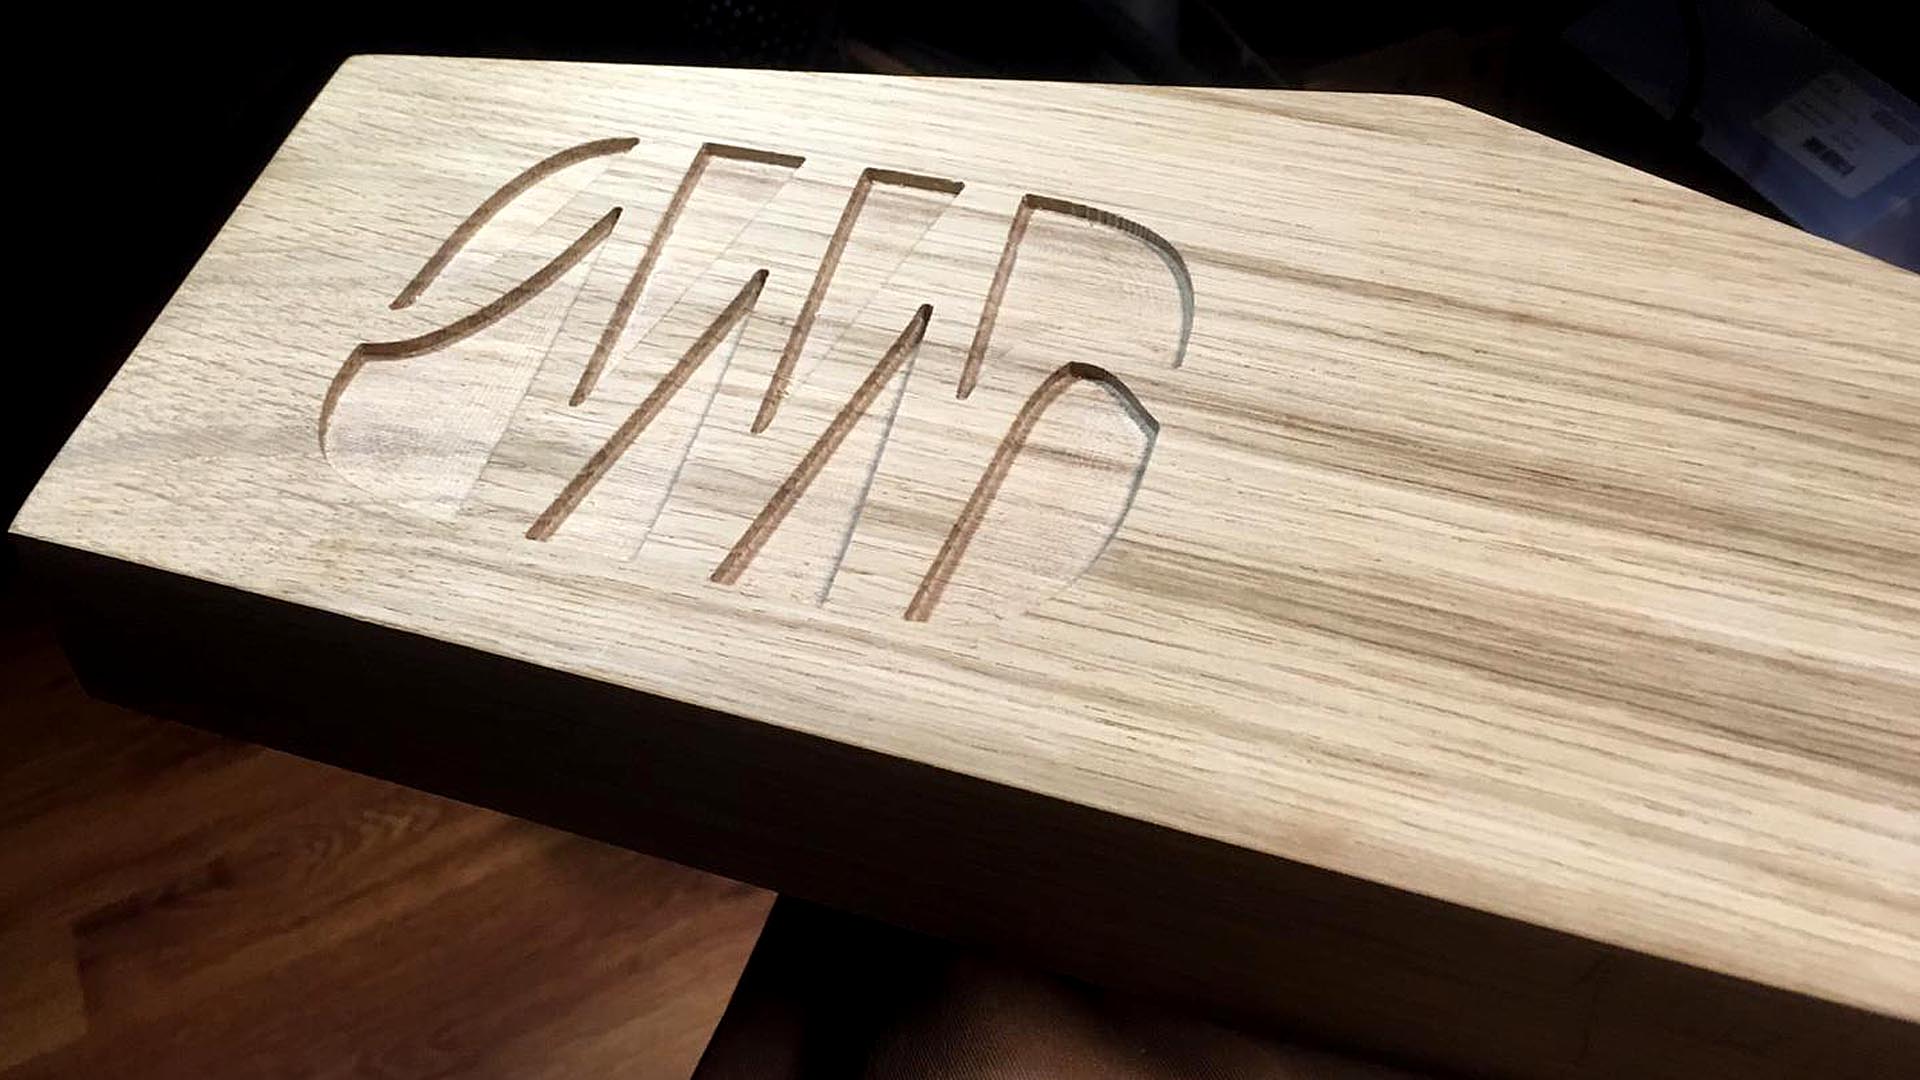
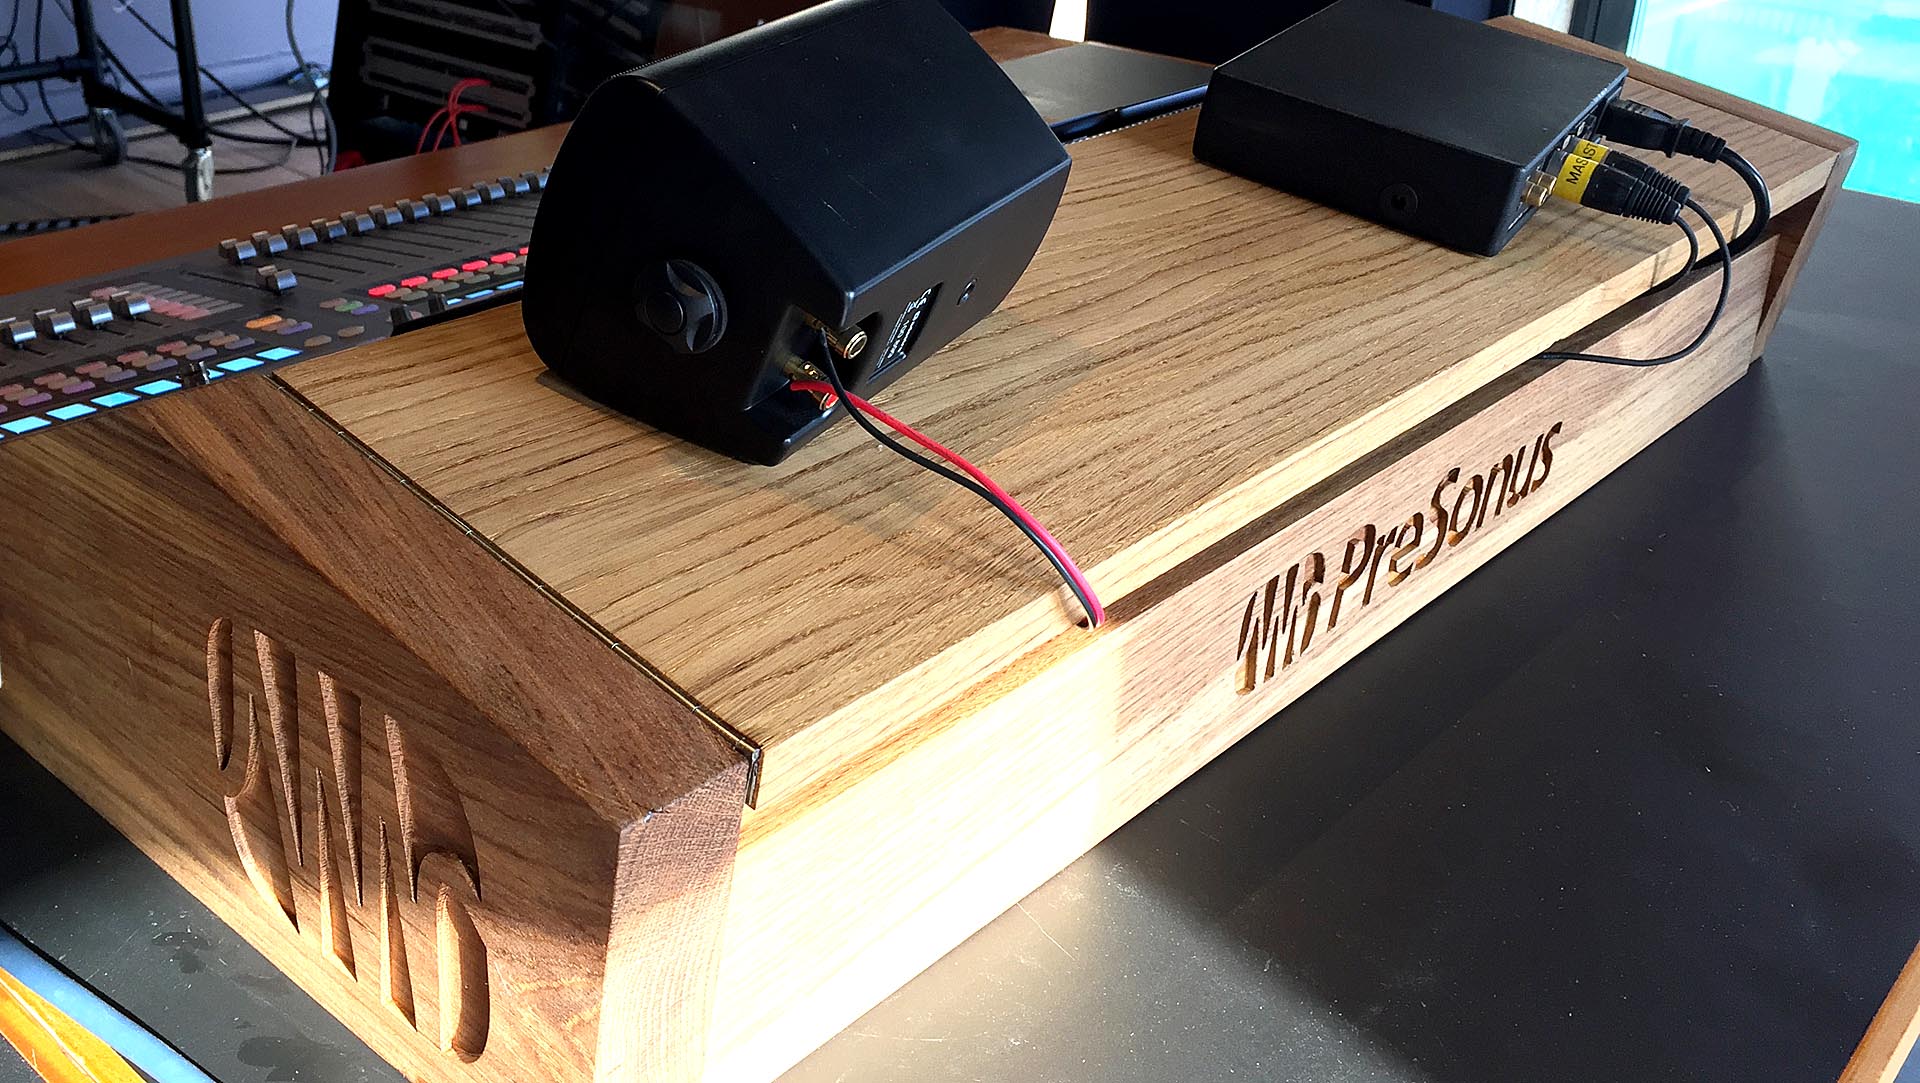
Presonus logo as PNG file (click on picture!)
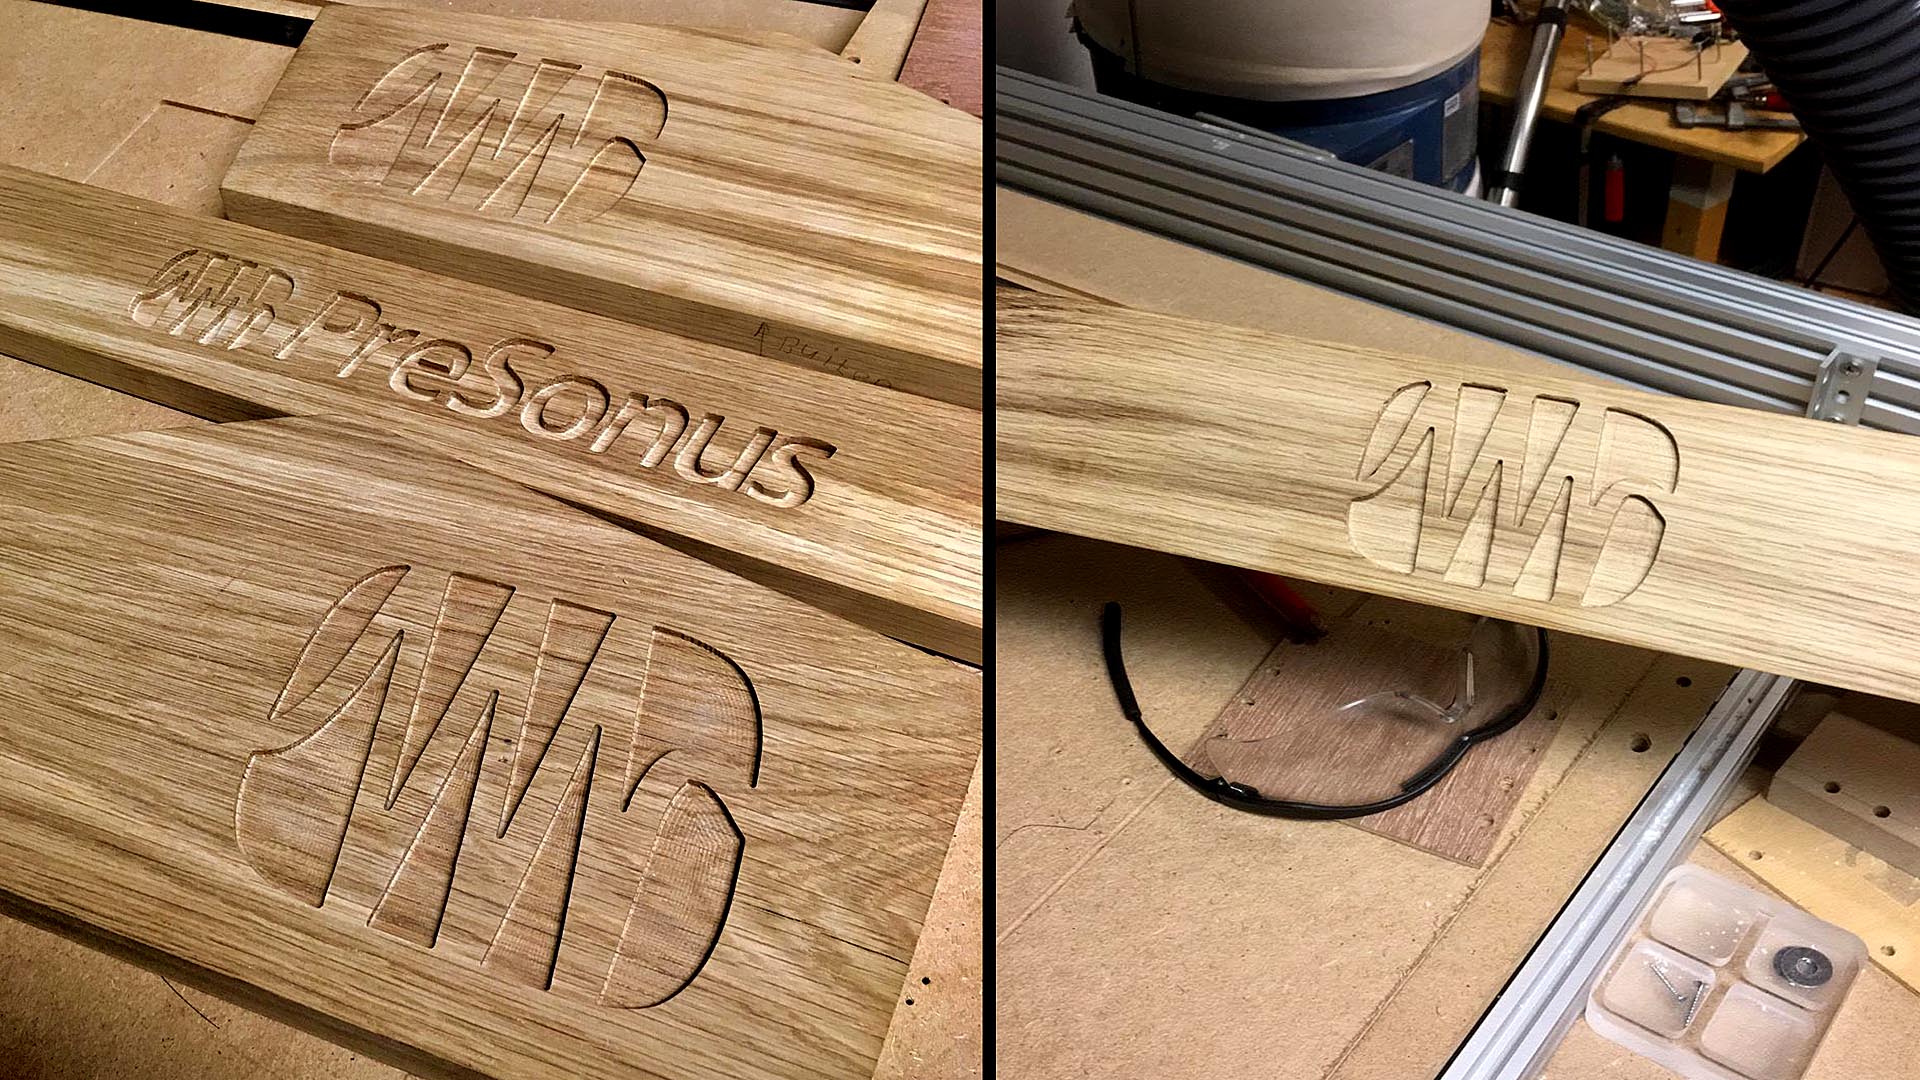
The CNC cut out by Carlos dalla Fiore.
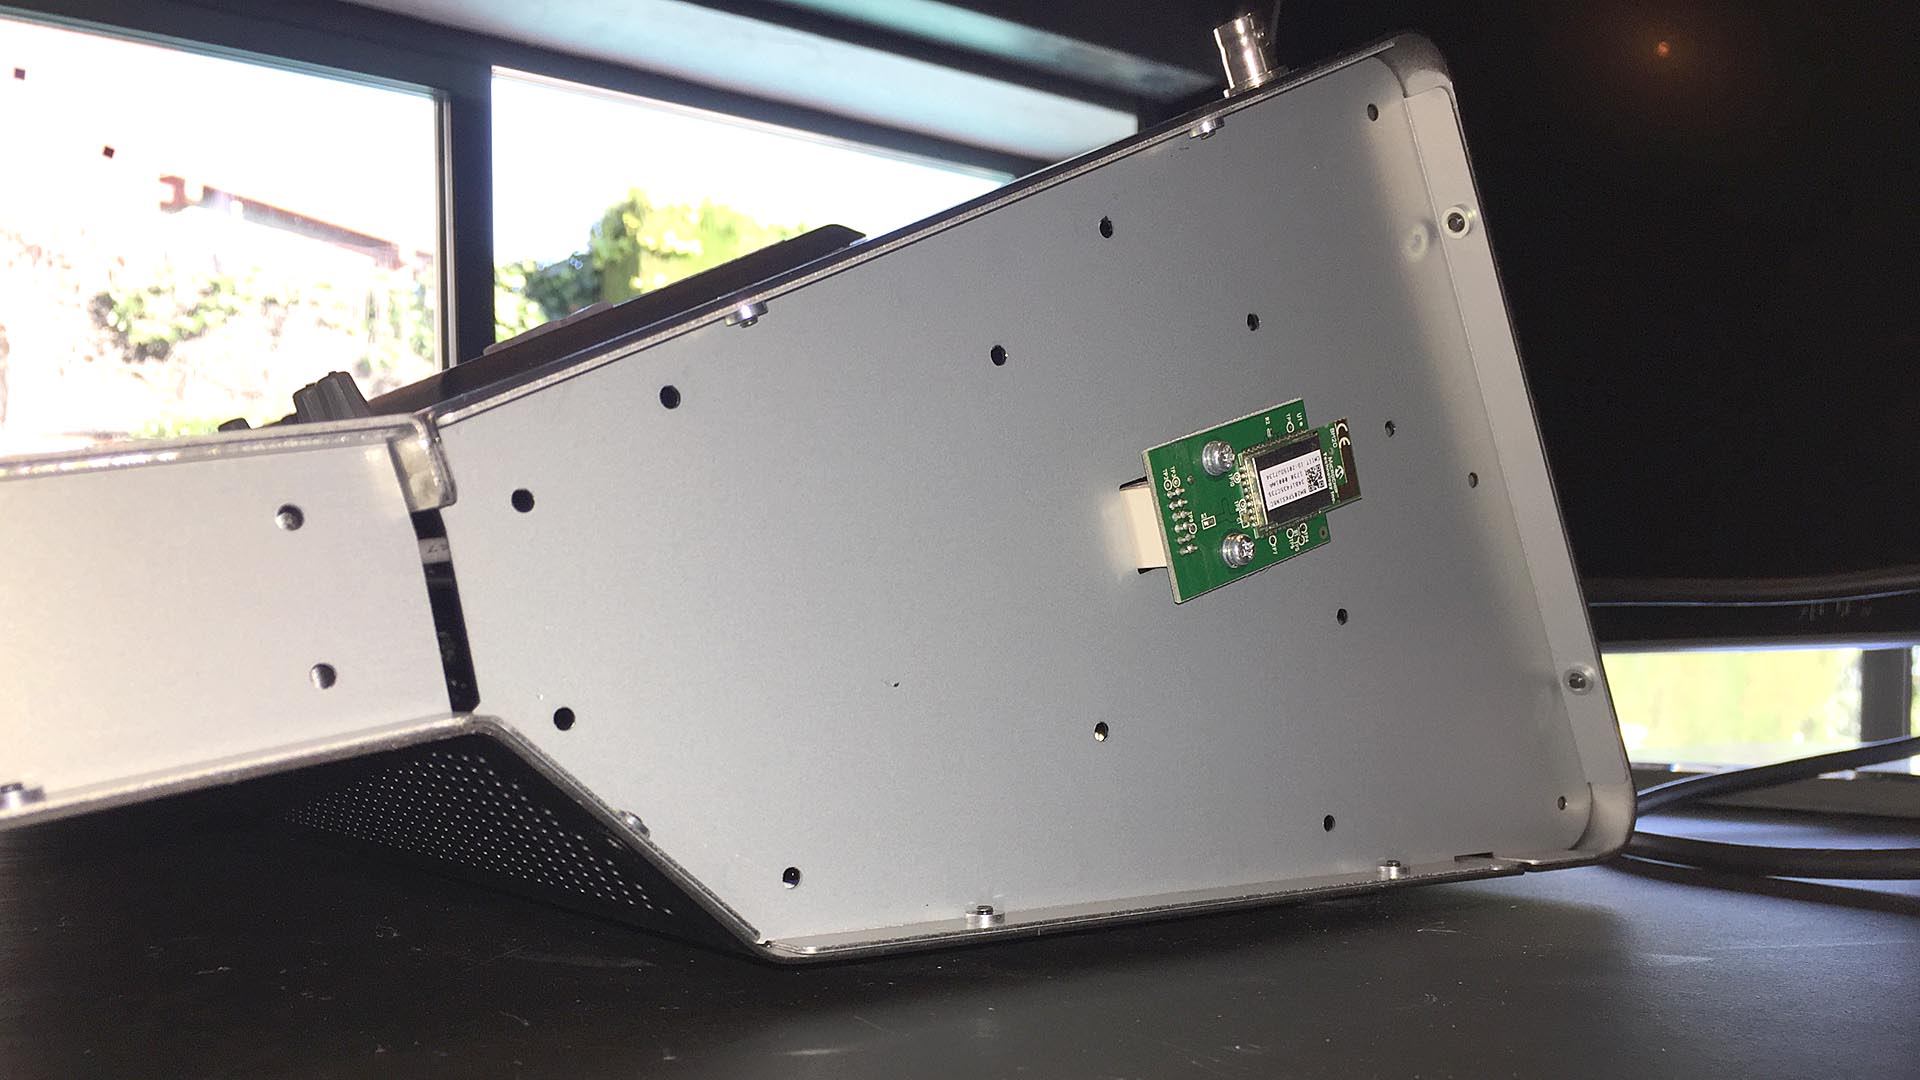
To remove the plastic cheeks first unscrew the little bolds out of the top face plate of the mixer. Then separate the plastic cheeks from the metal counter part. Again a lot of Philips screws to be removed. Then put back the metal cheek only.
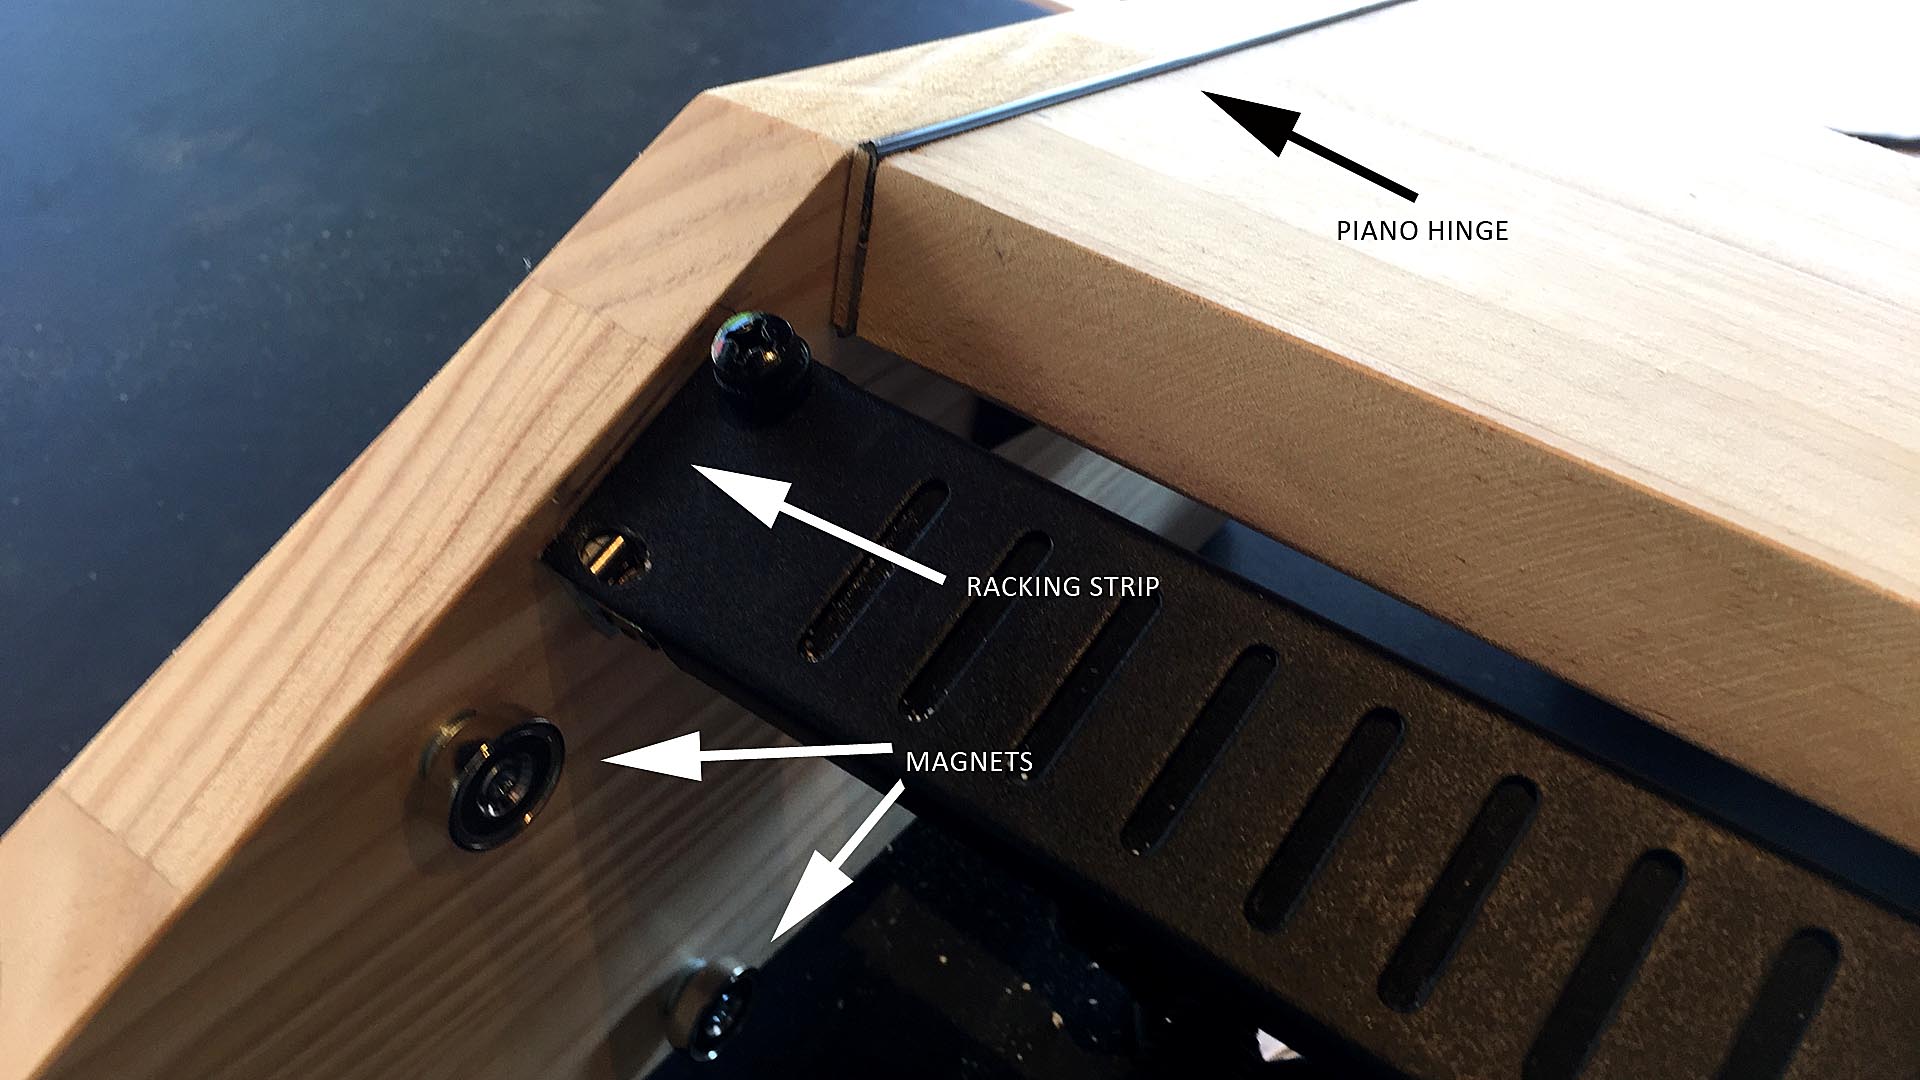
Because of the chassis is all metal, magnets can be used to clamp the wooden cheeks to the mixer,
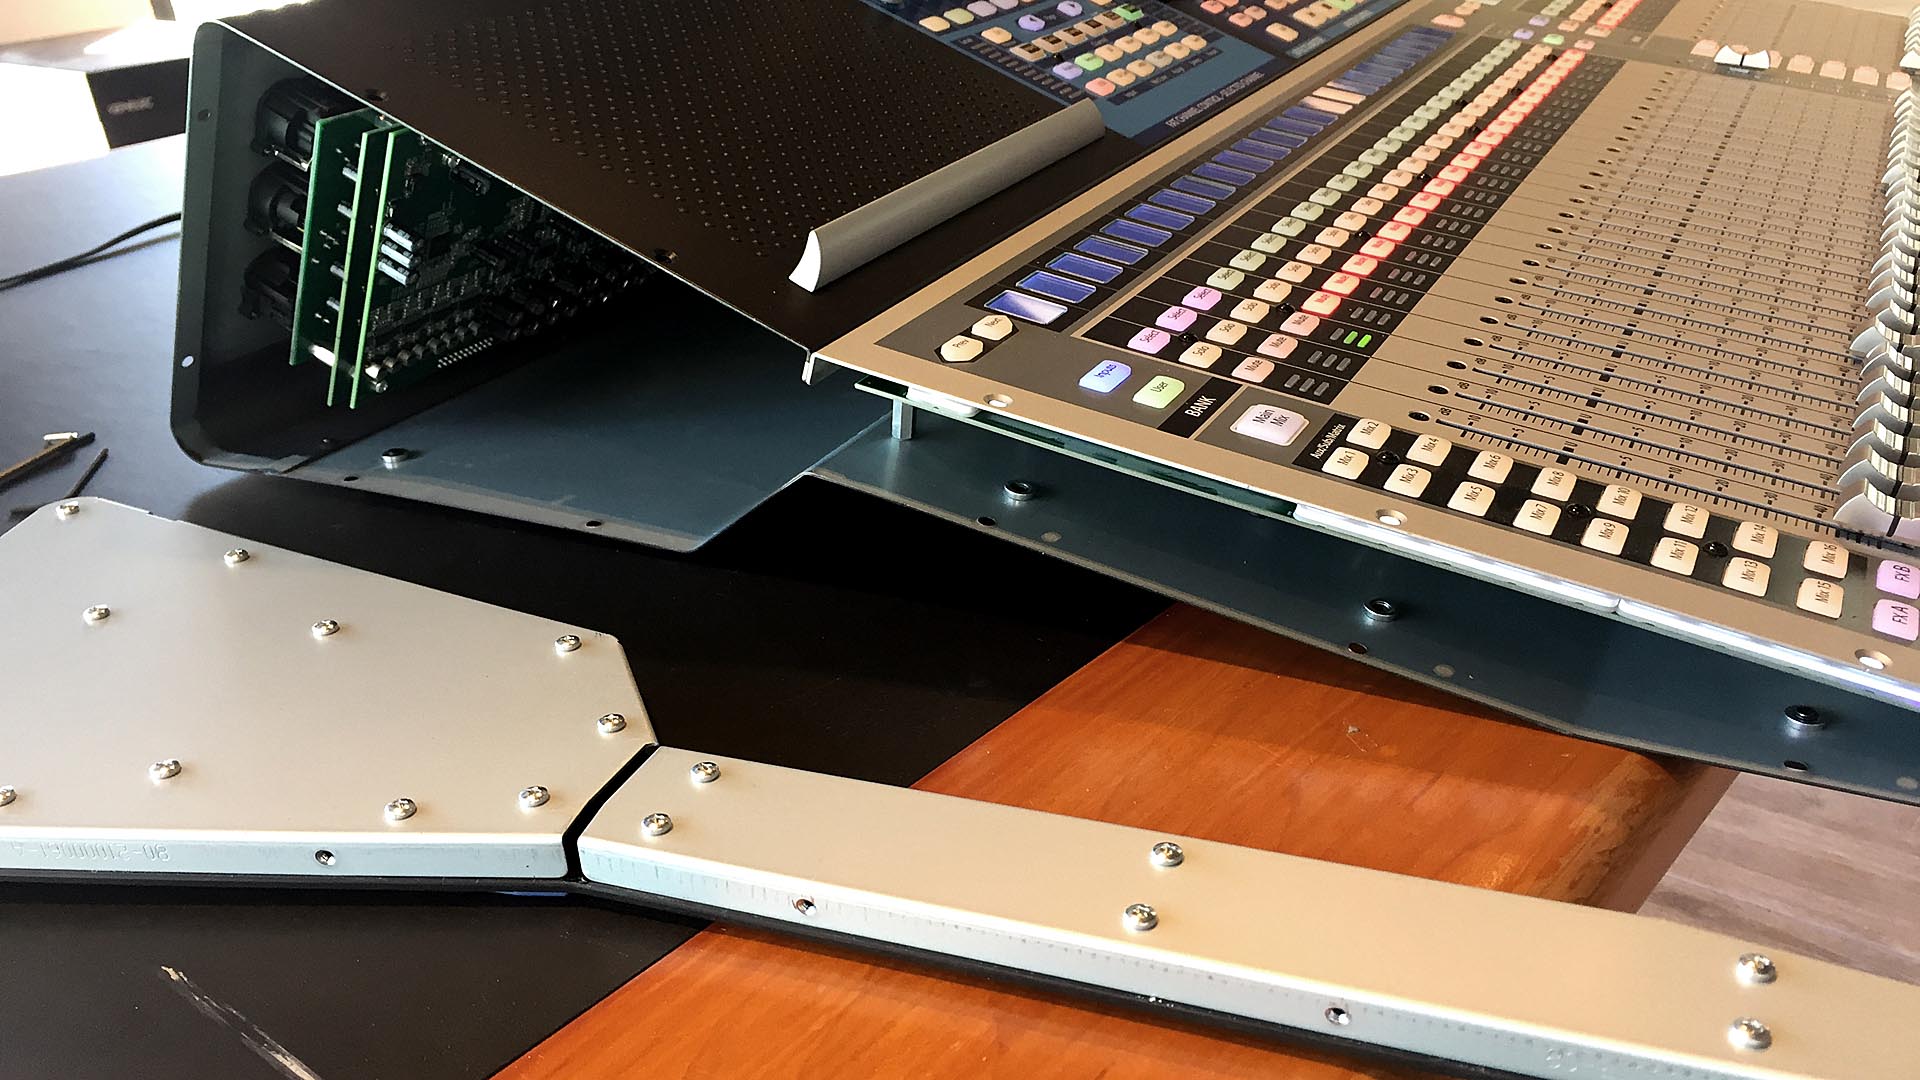

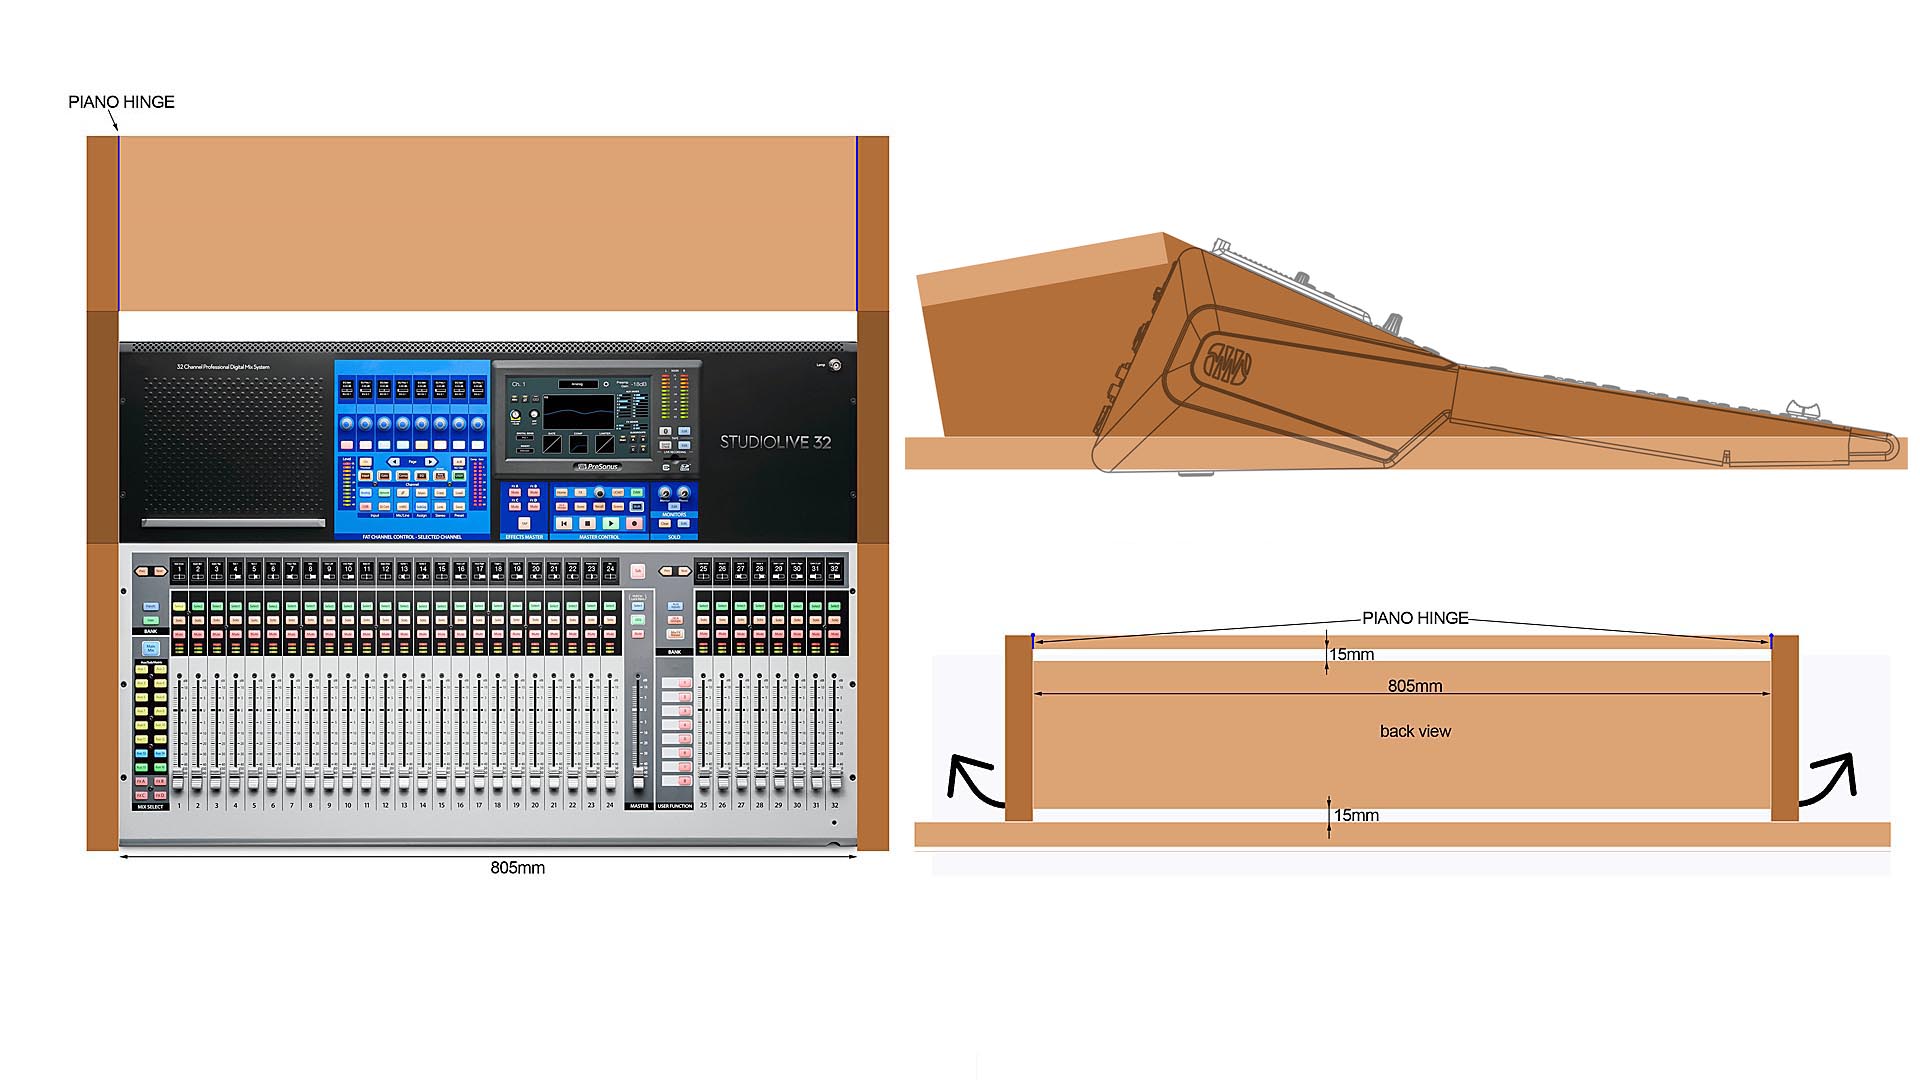
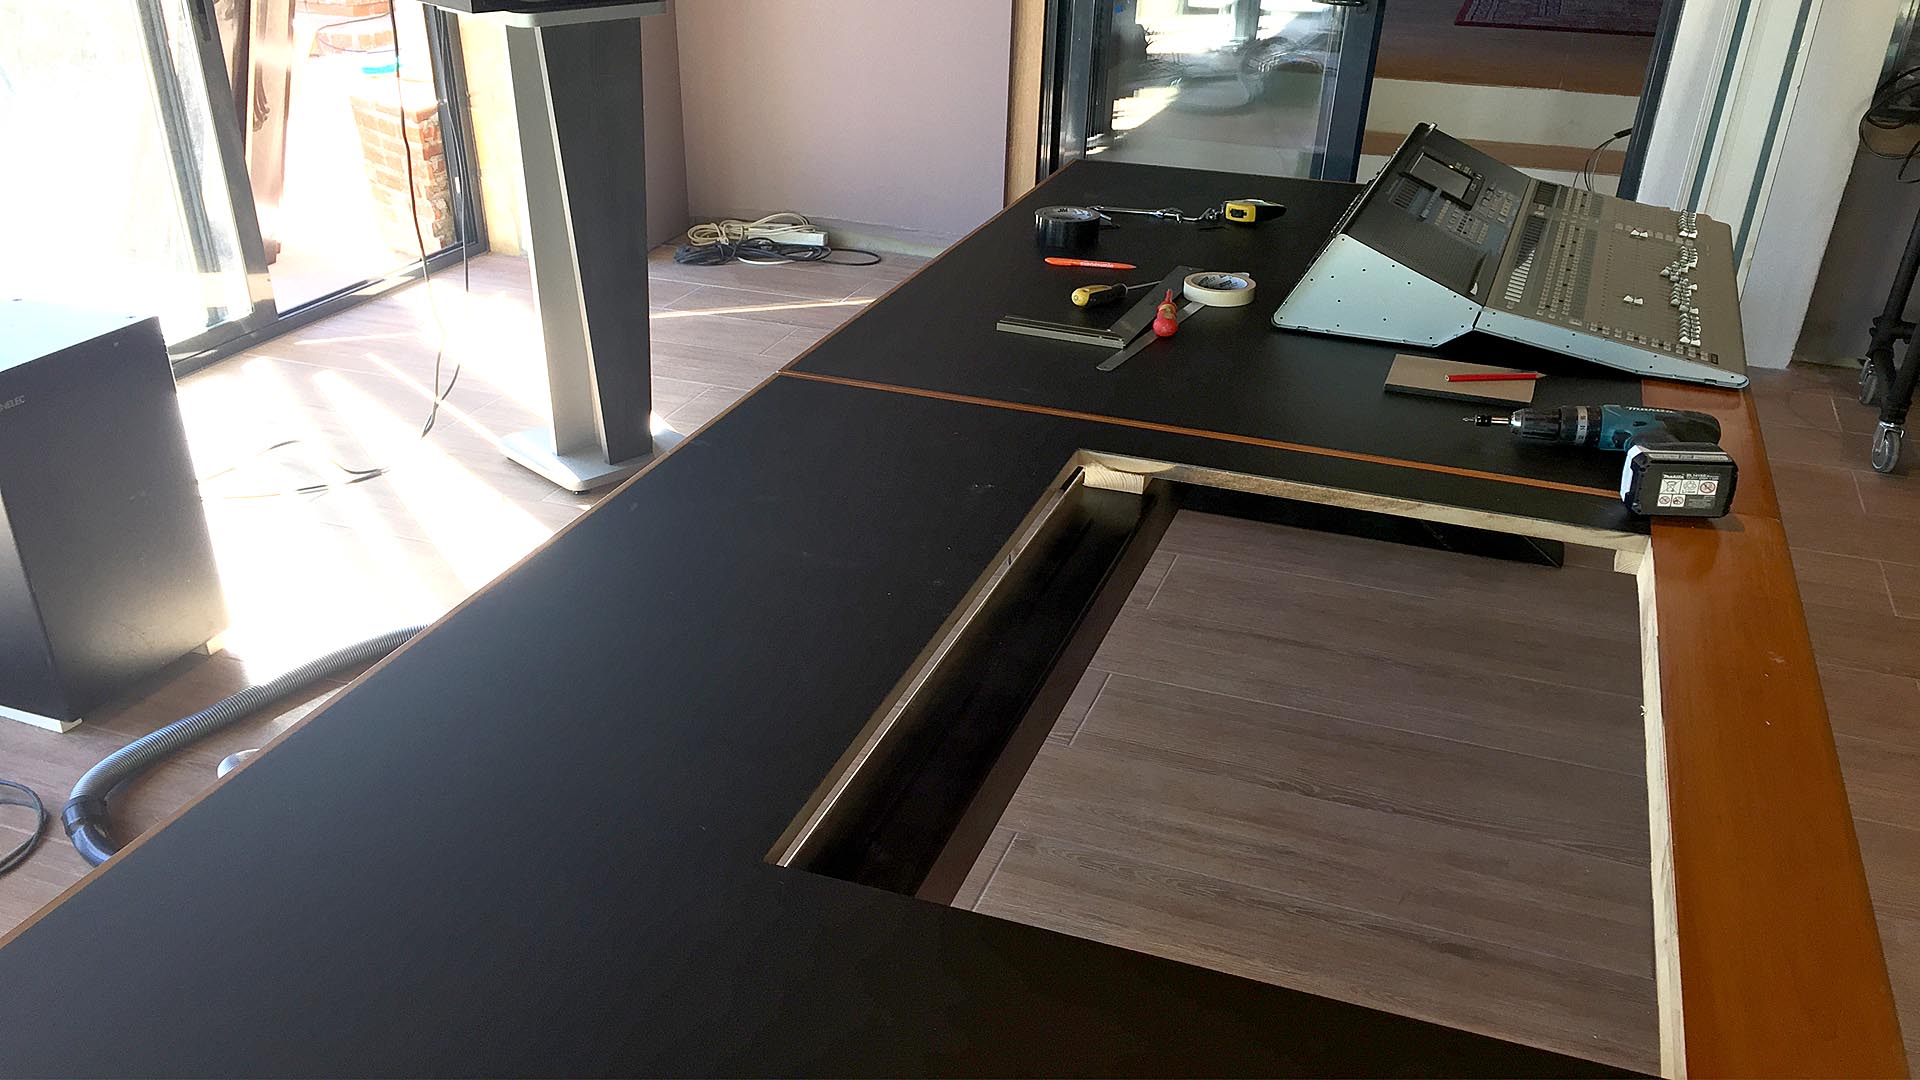
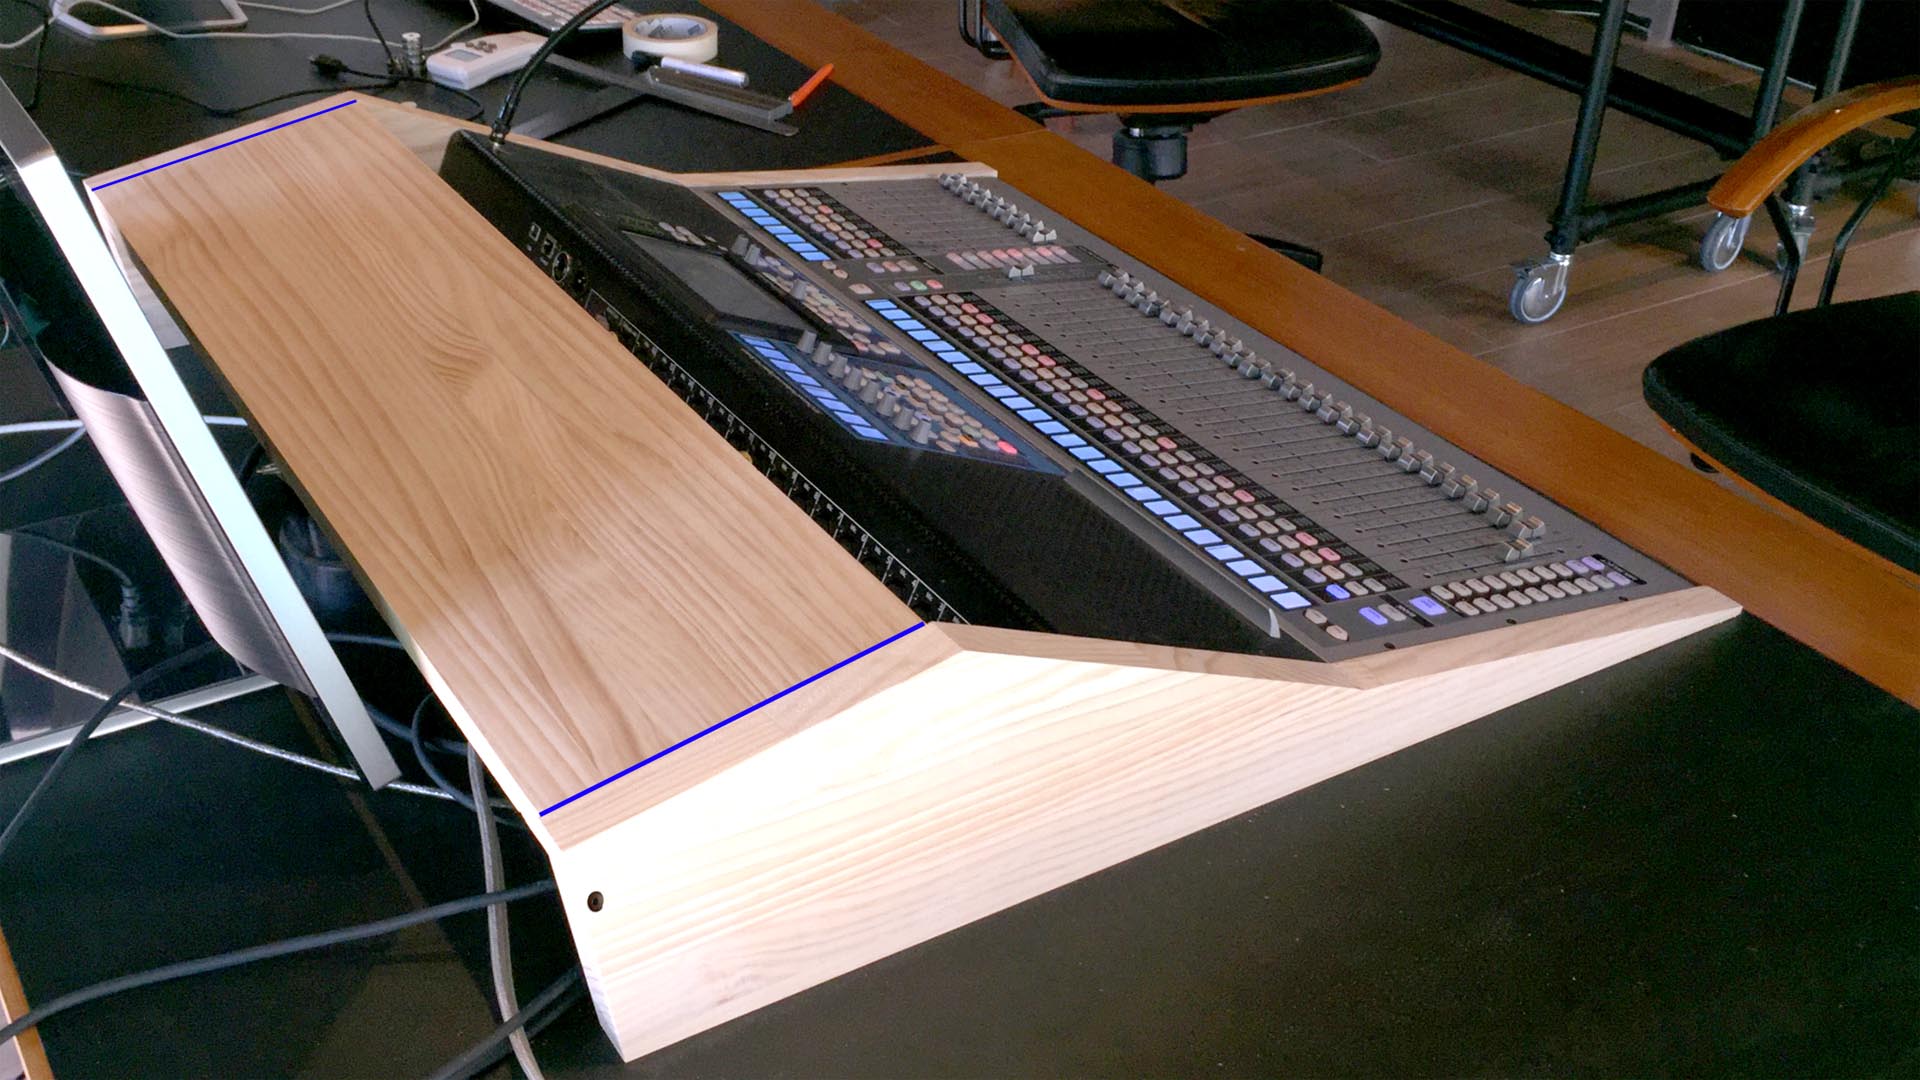
We made a cut out in the desk, so the wood covers only the top part of the mixer.
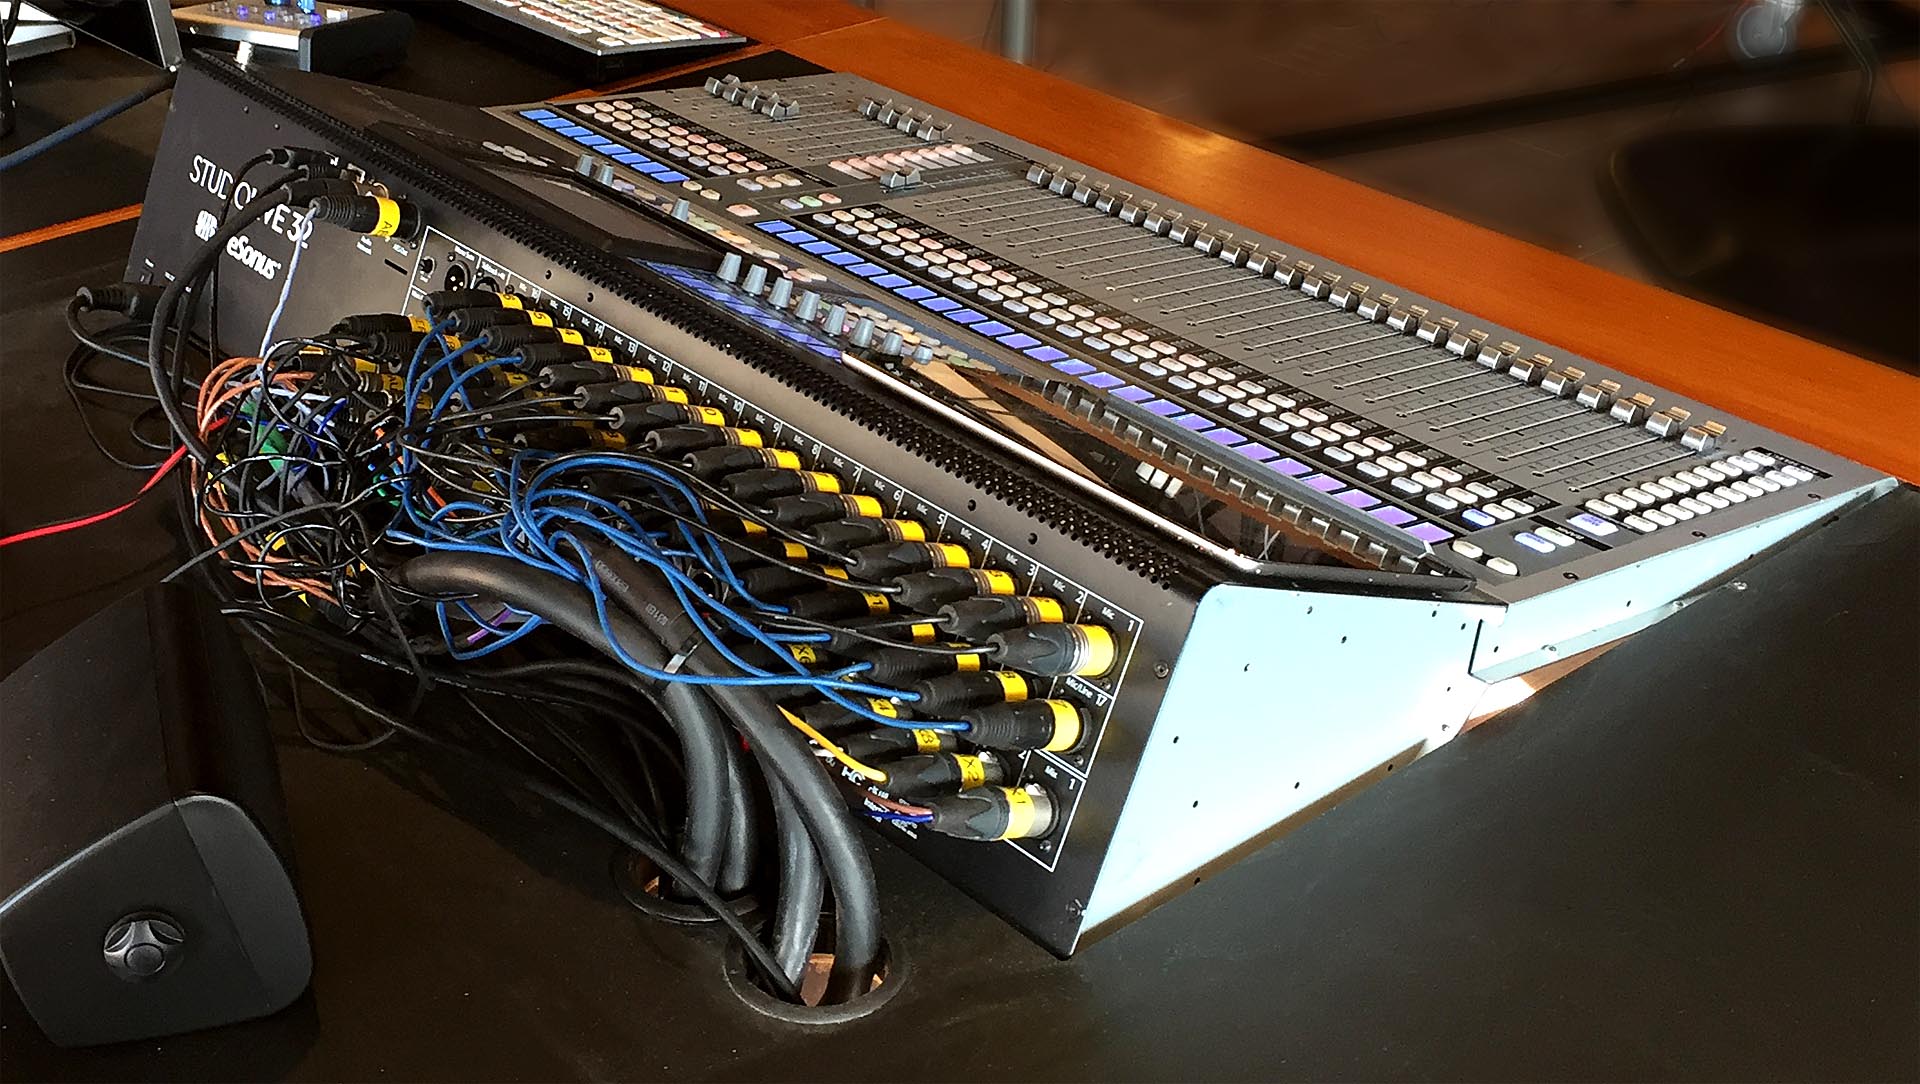
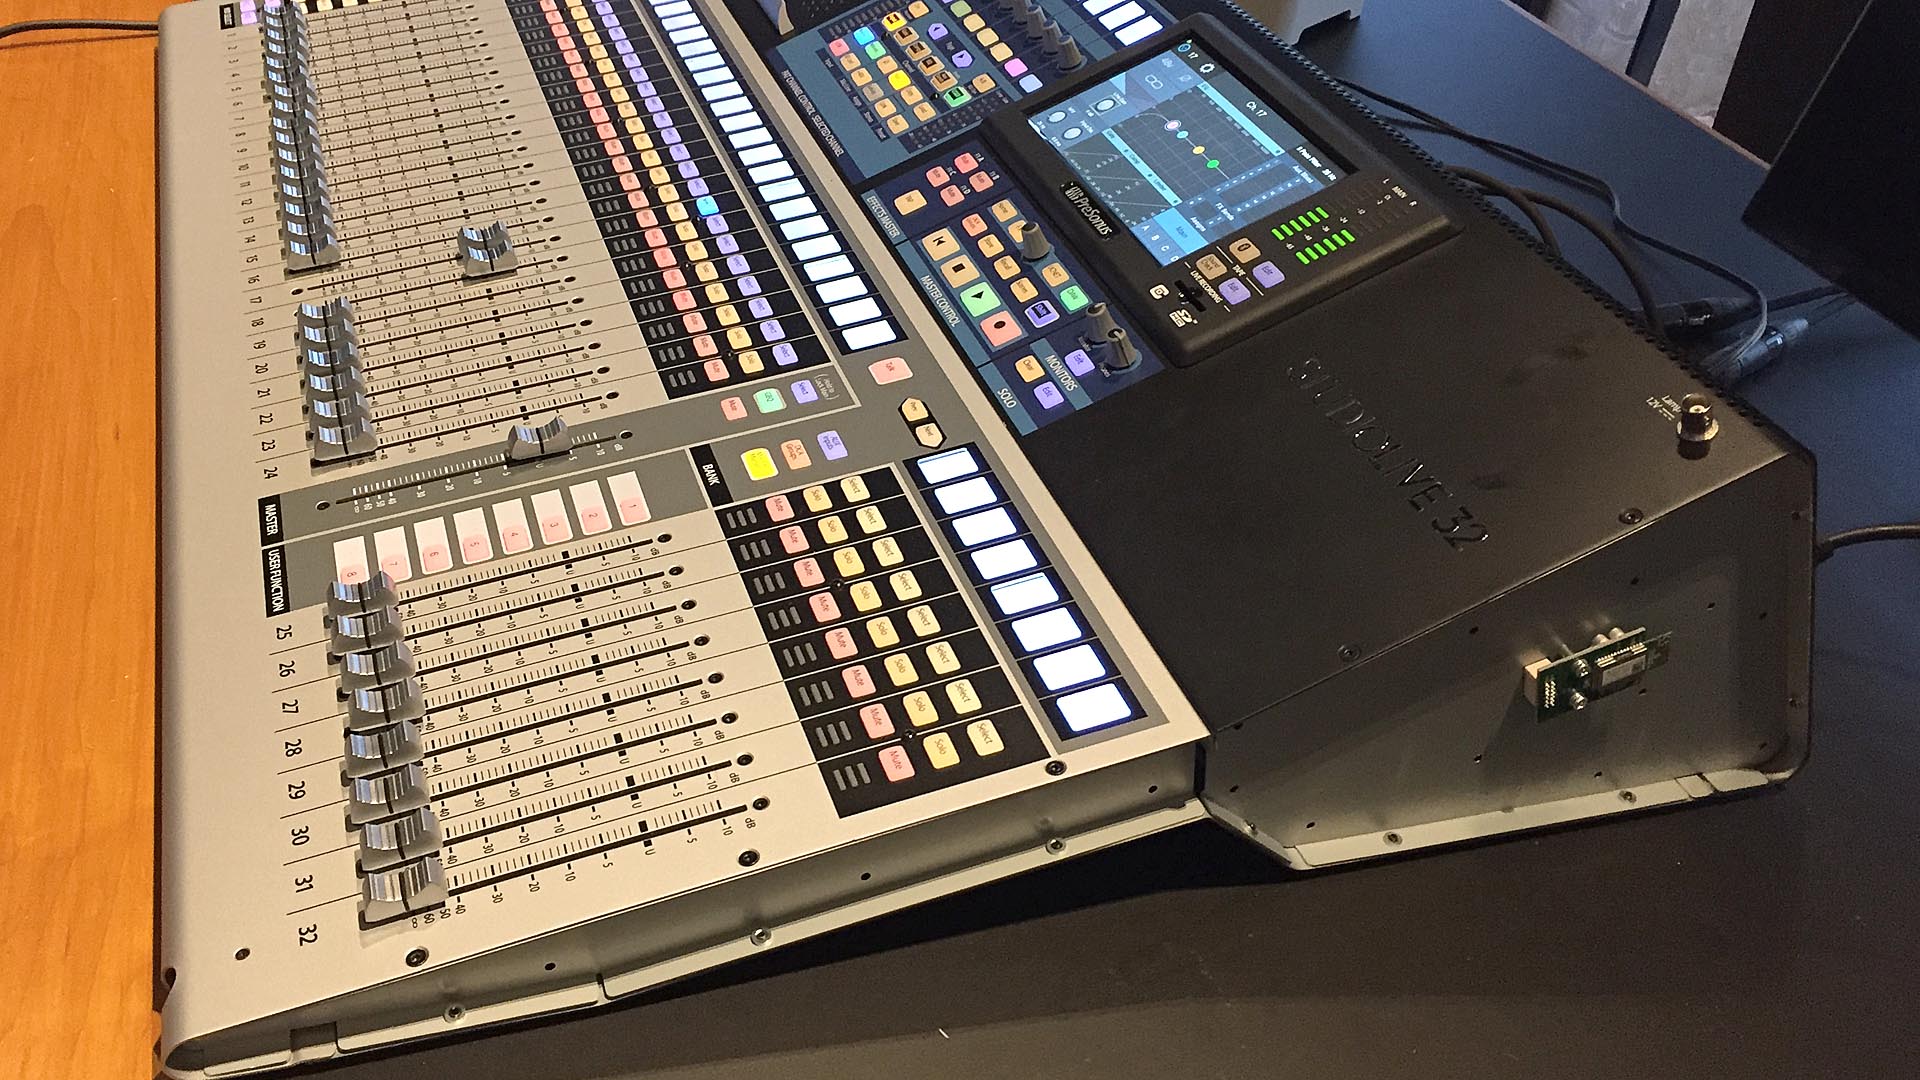
The right hand cheek needs a little cut out for the Blue Tooth module.
To cover the round front edge of the mixer (and the headphone connect!) we used a self adhesive foam strip to seal windows.
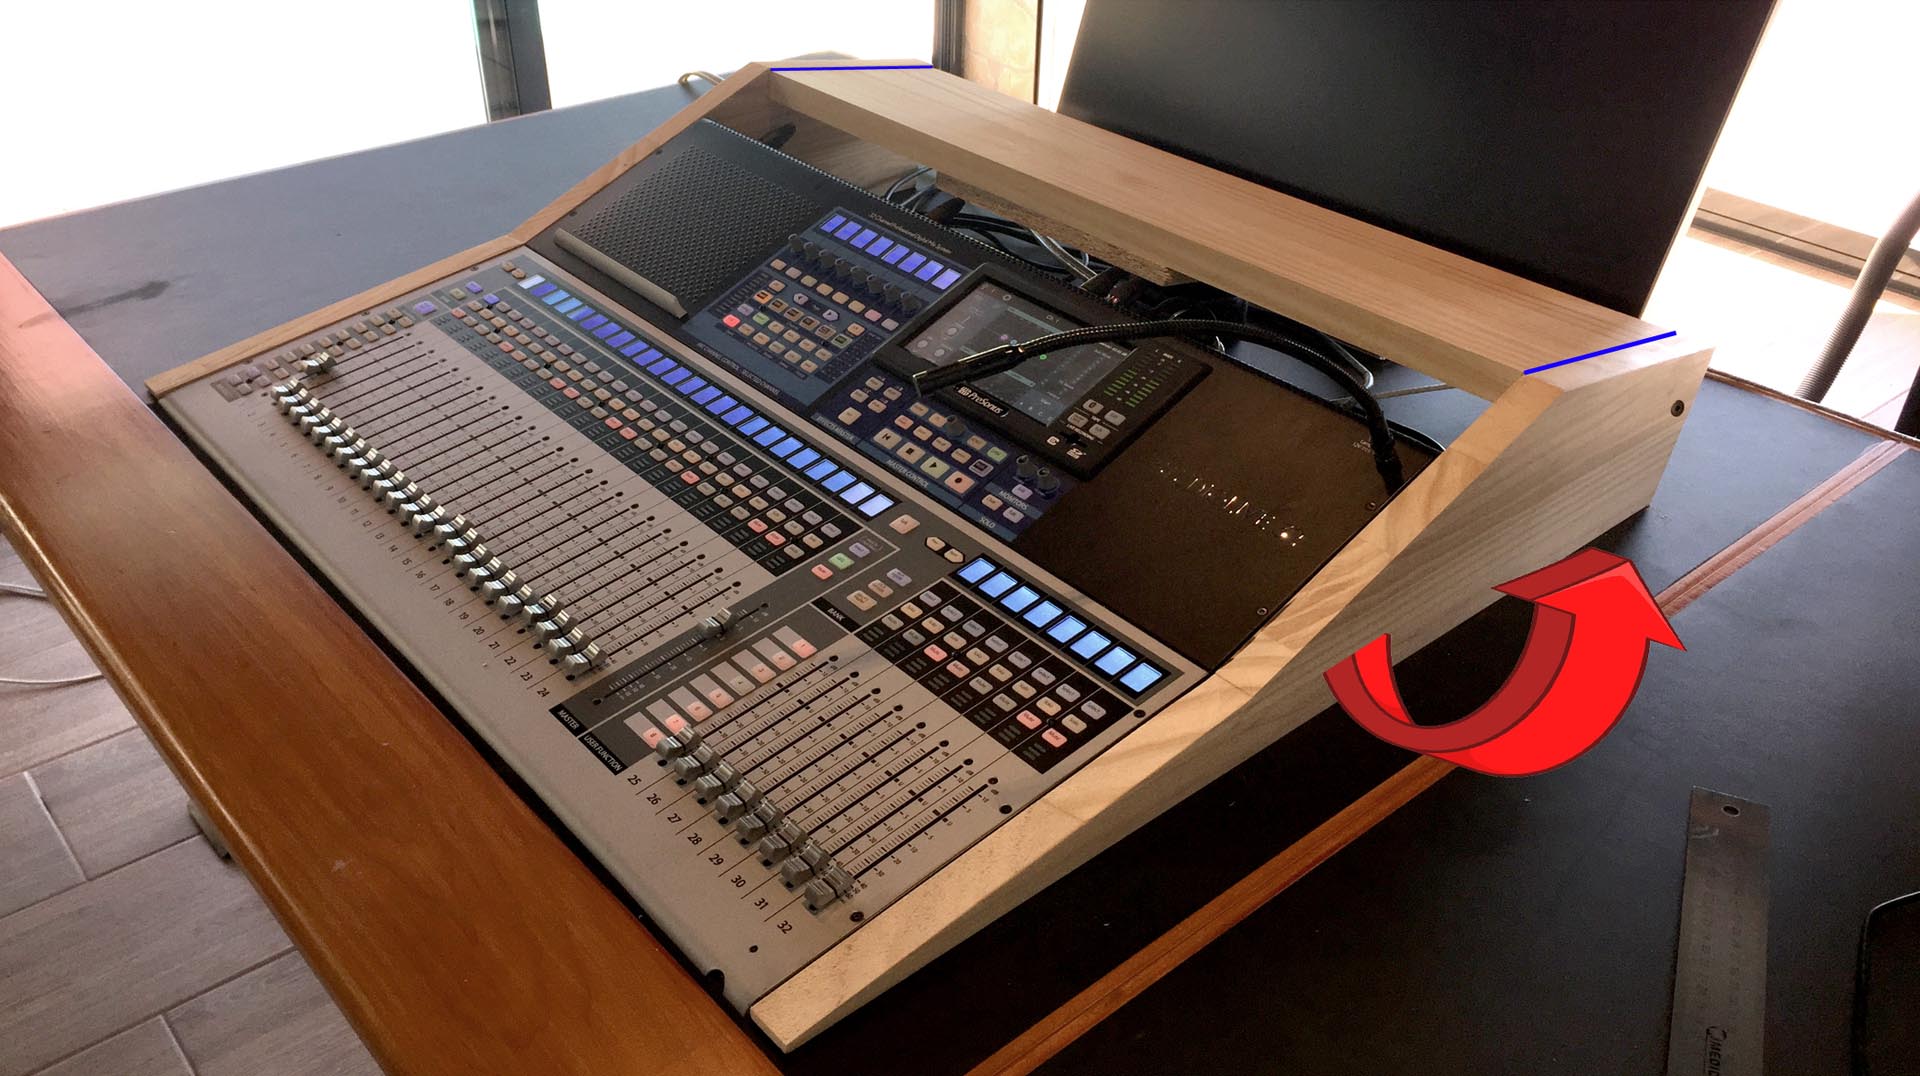
Keep some space between the mixer and the top of the wooden console for ventilation.

The ventilation panel also secures the 2 cheeks. The 1HE ventilation panel has a lenght of 800 mm and is combined out of 2 pieces of 19″, 1HE ventilation panel.
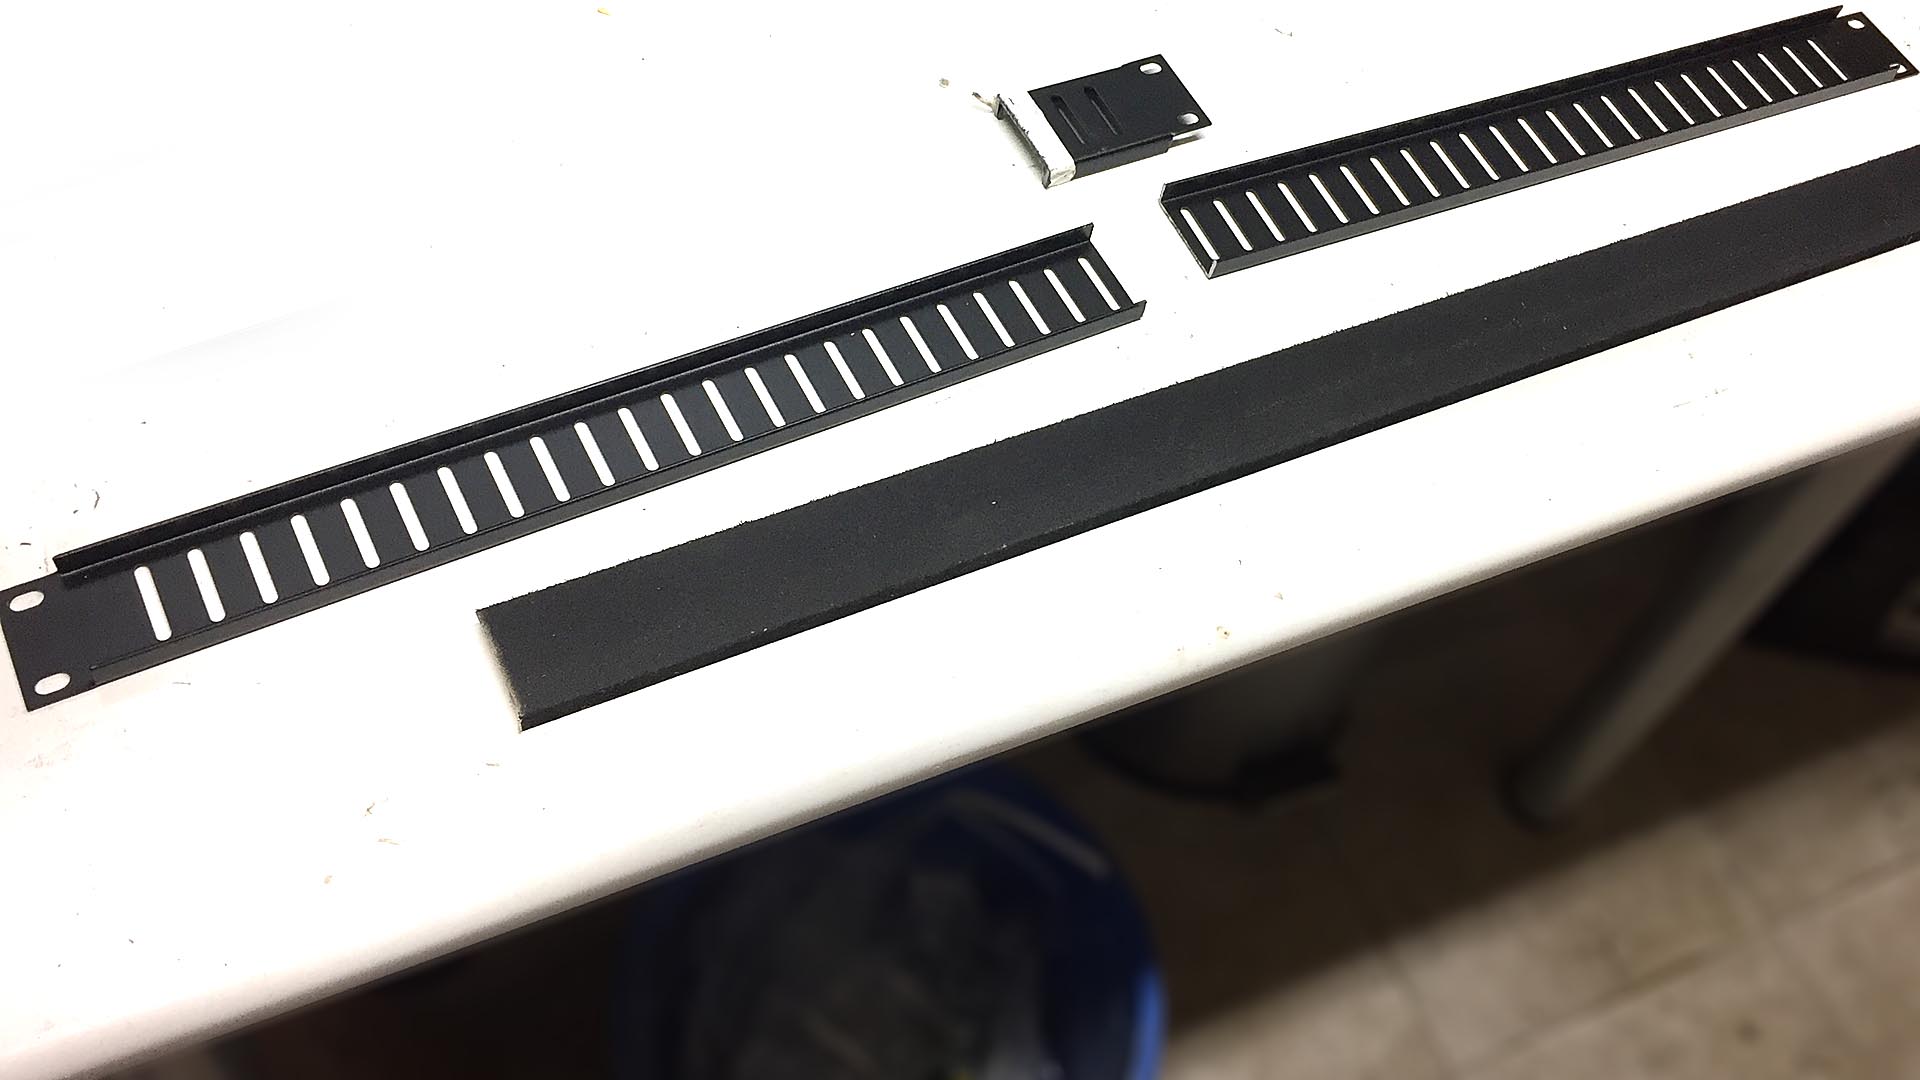
The ventilation panel is filled with a black MDF strip to glue the 2 pieces together.

On each wooden cheeks we mounted 5 magnets that clamp the cheeks on the mixer.
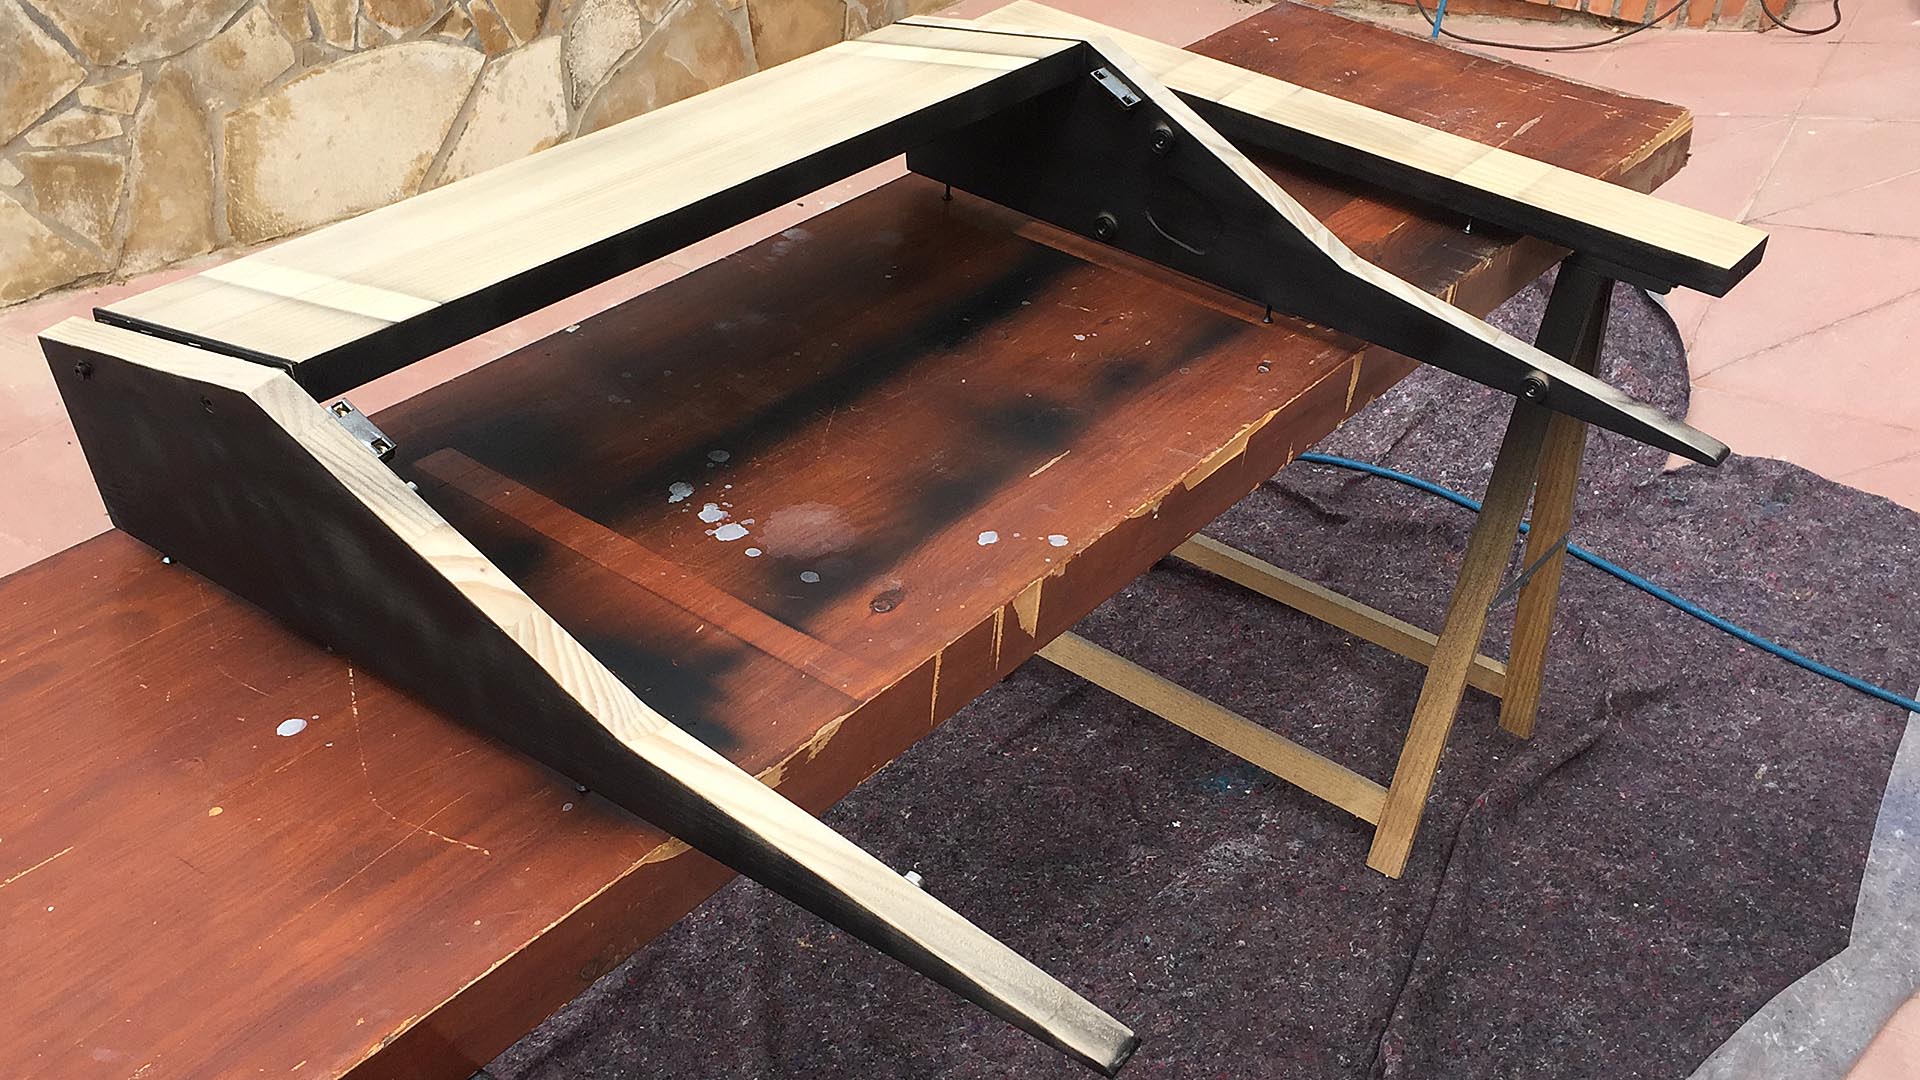
The 2 cheeks are attached to the top panel with a piano hinge. In this way the wooden console folds around the mixer.
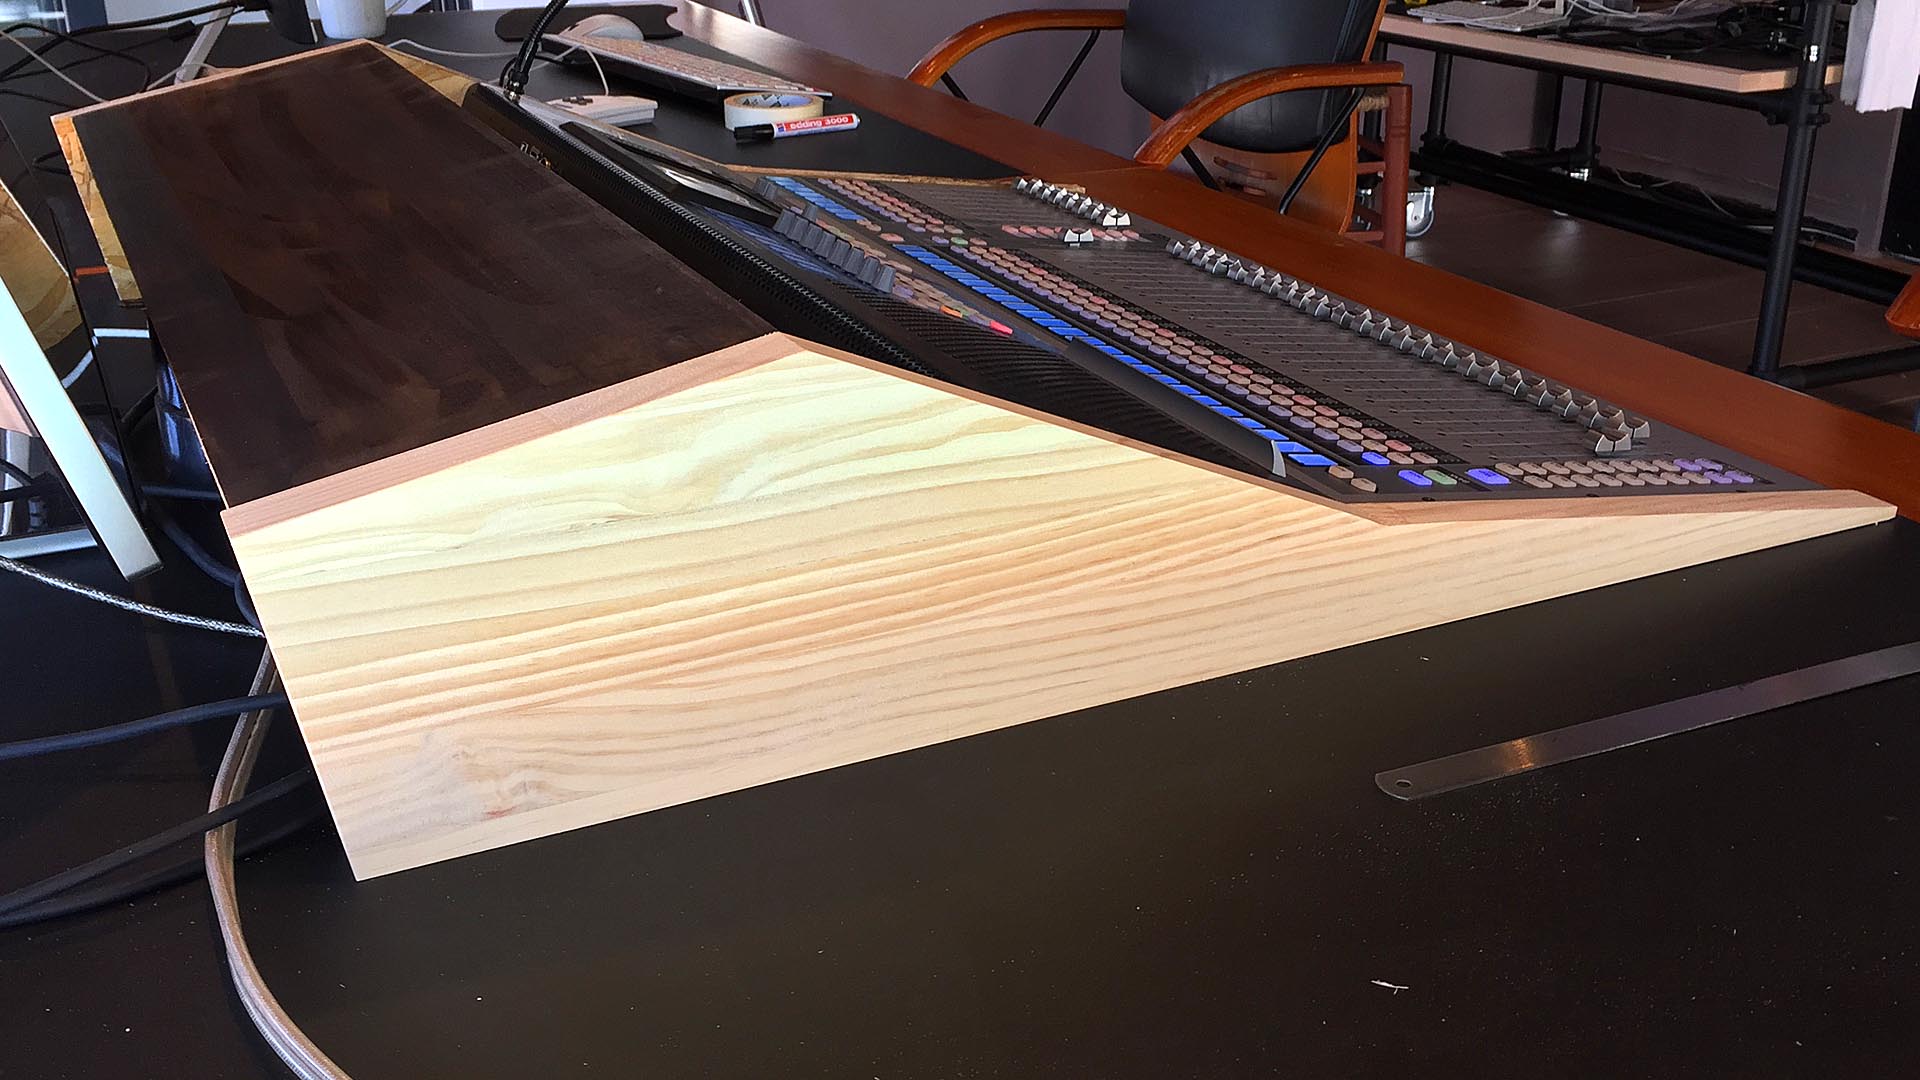
Prototype 1
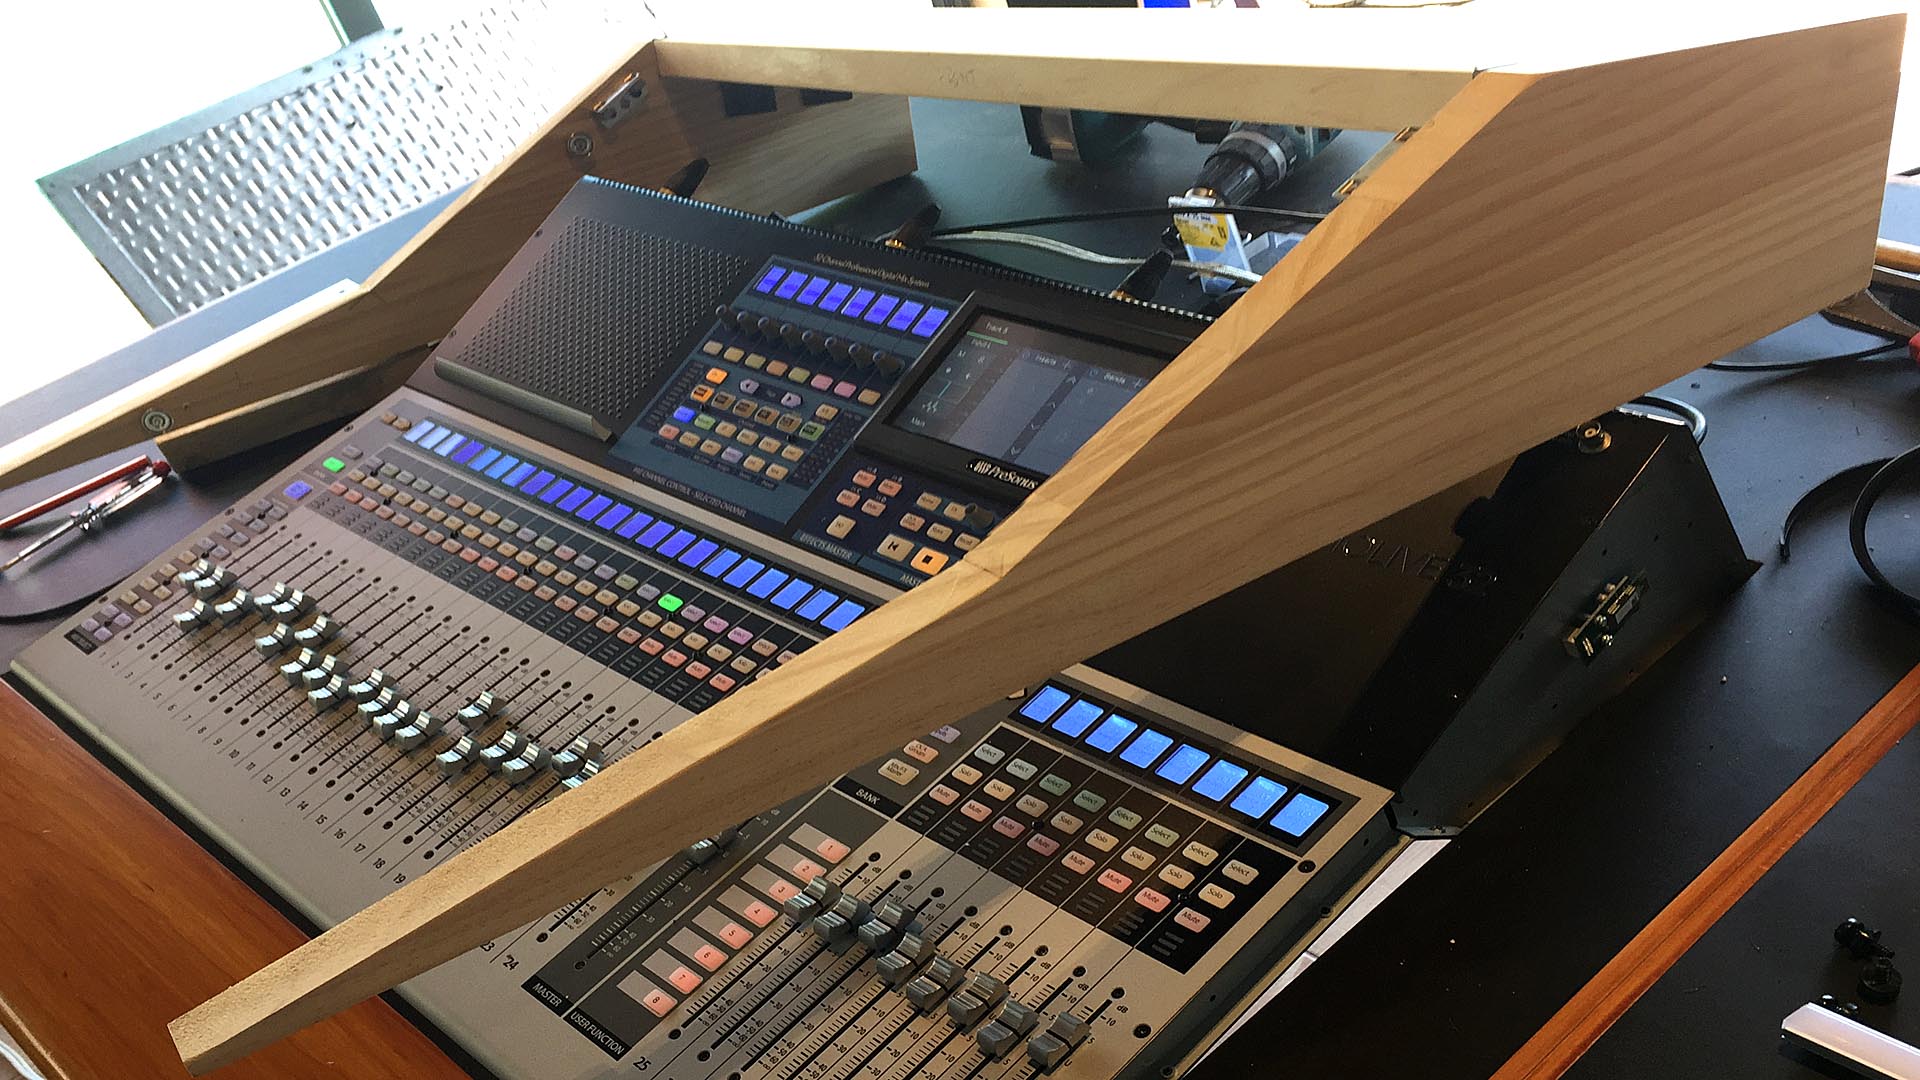
Prototype 2
Prototype 2
Prototype 2
Prototype 2
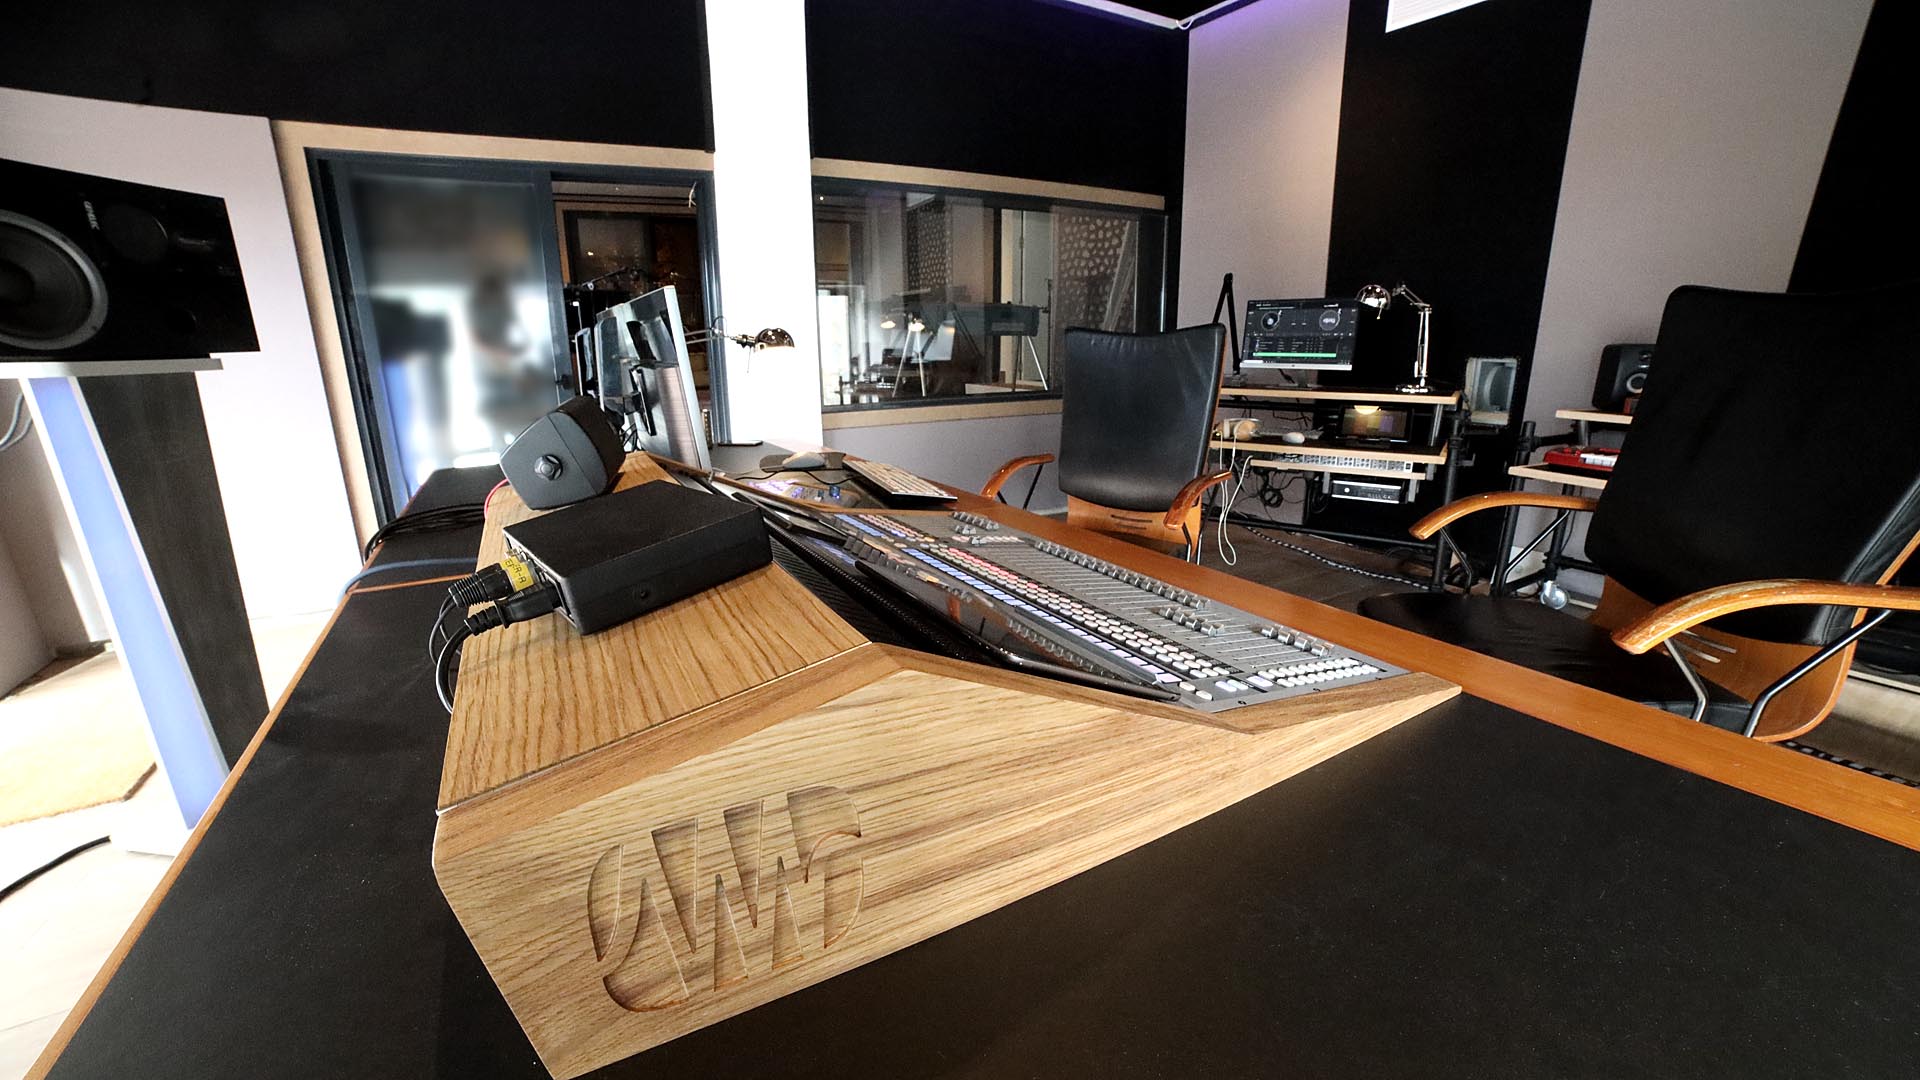
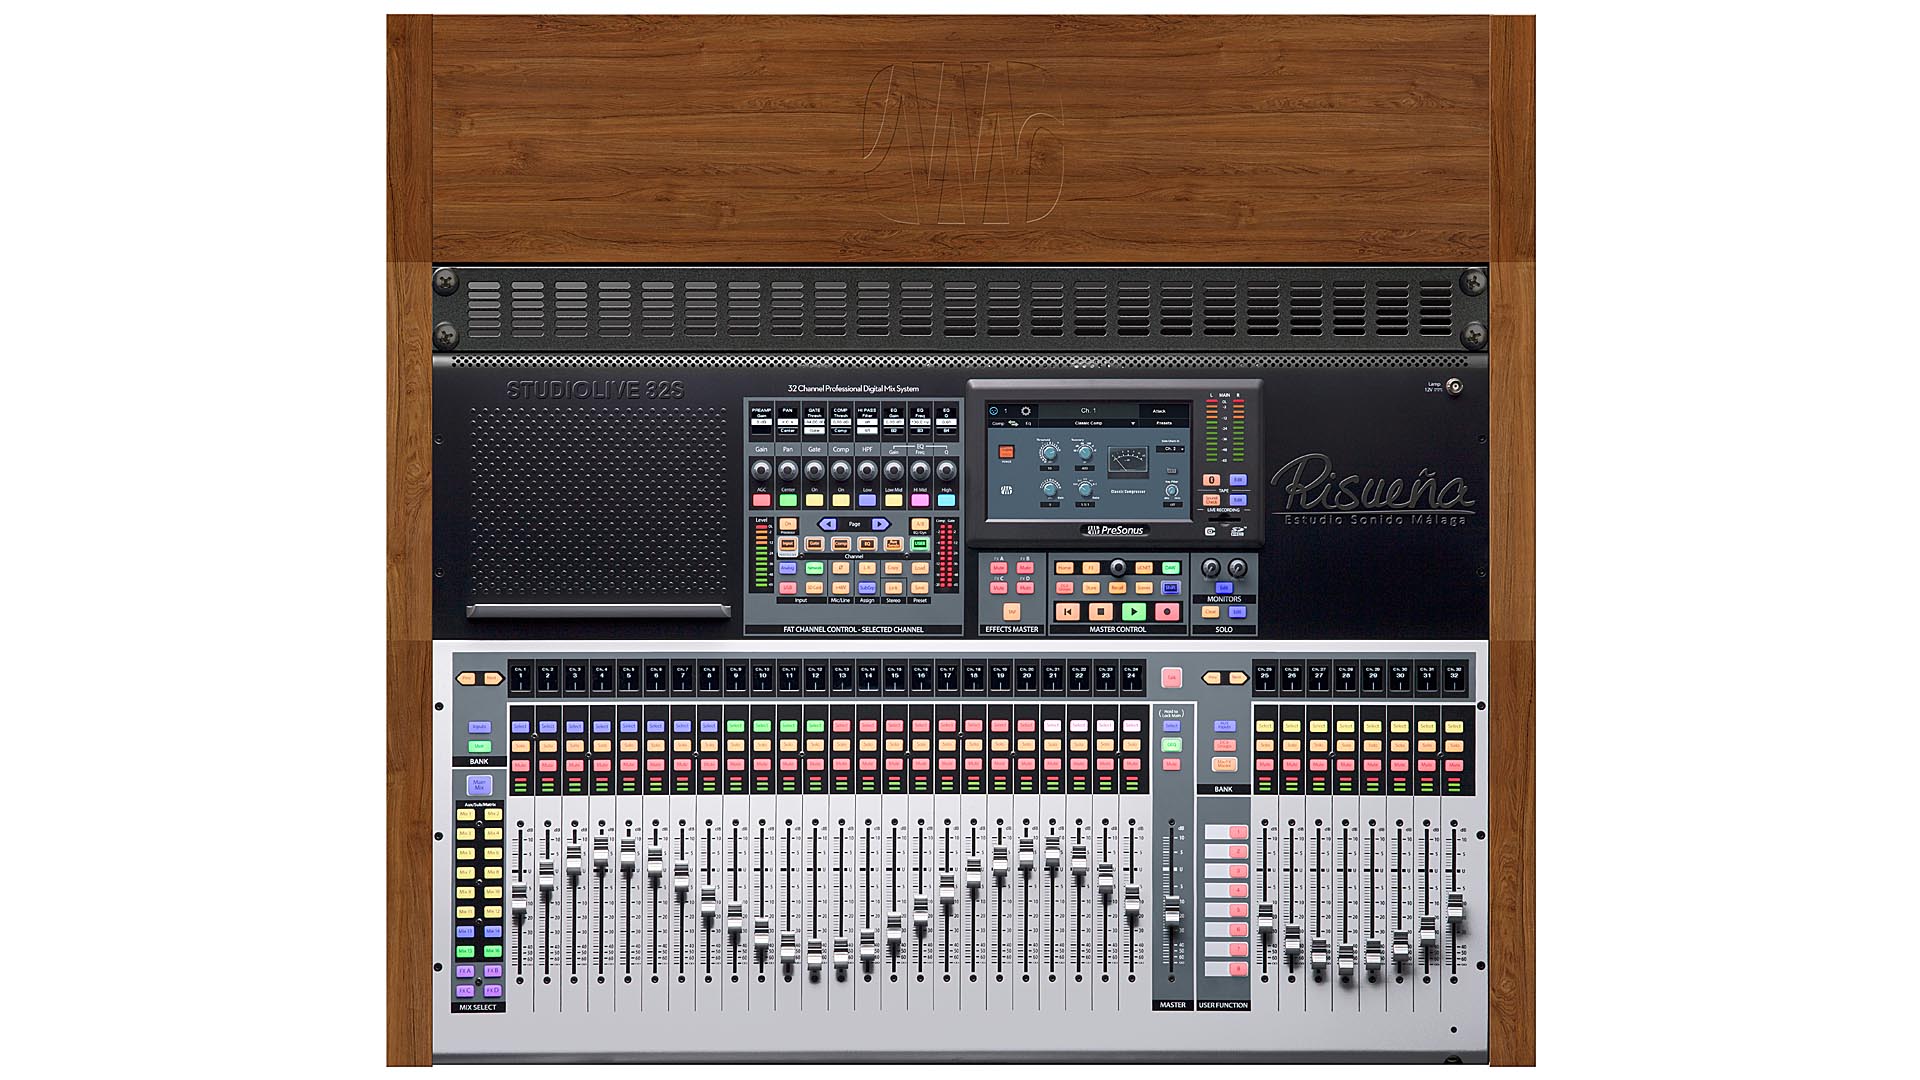
Final console
Final console

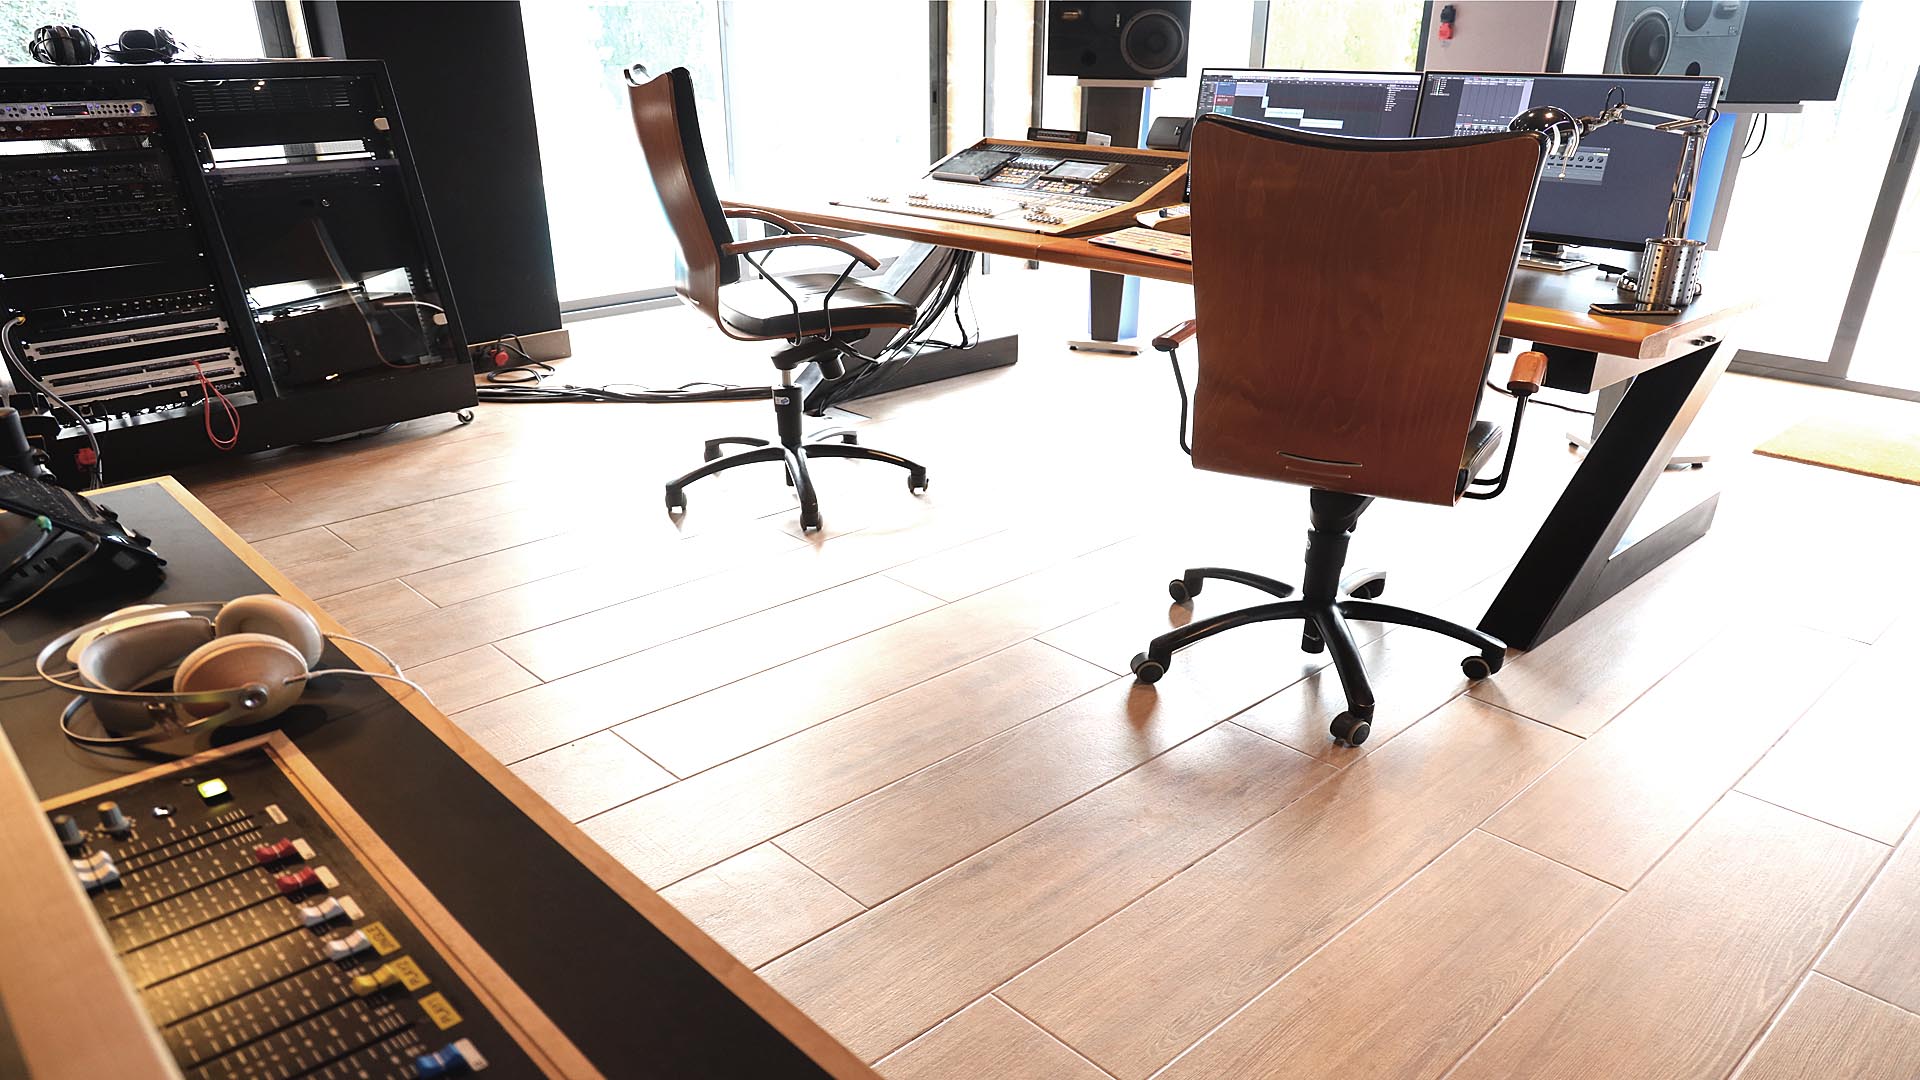
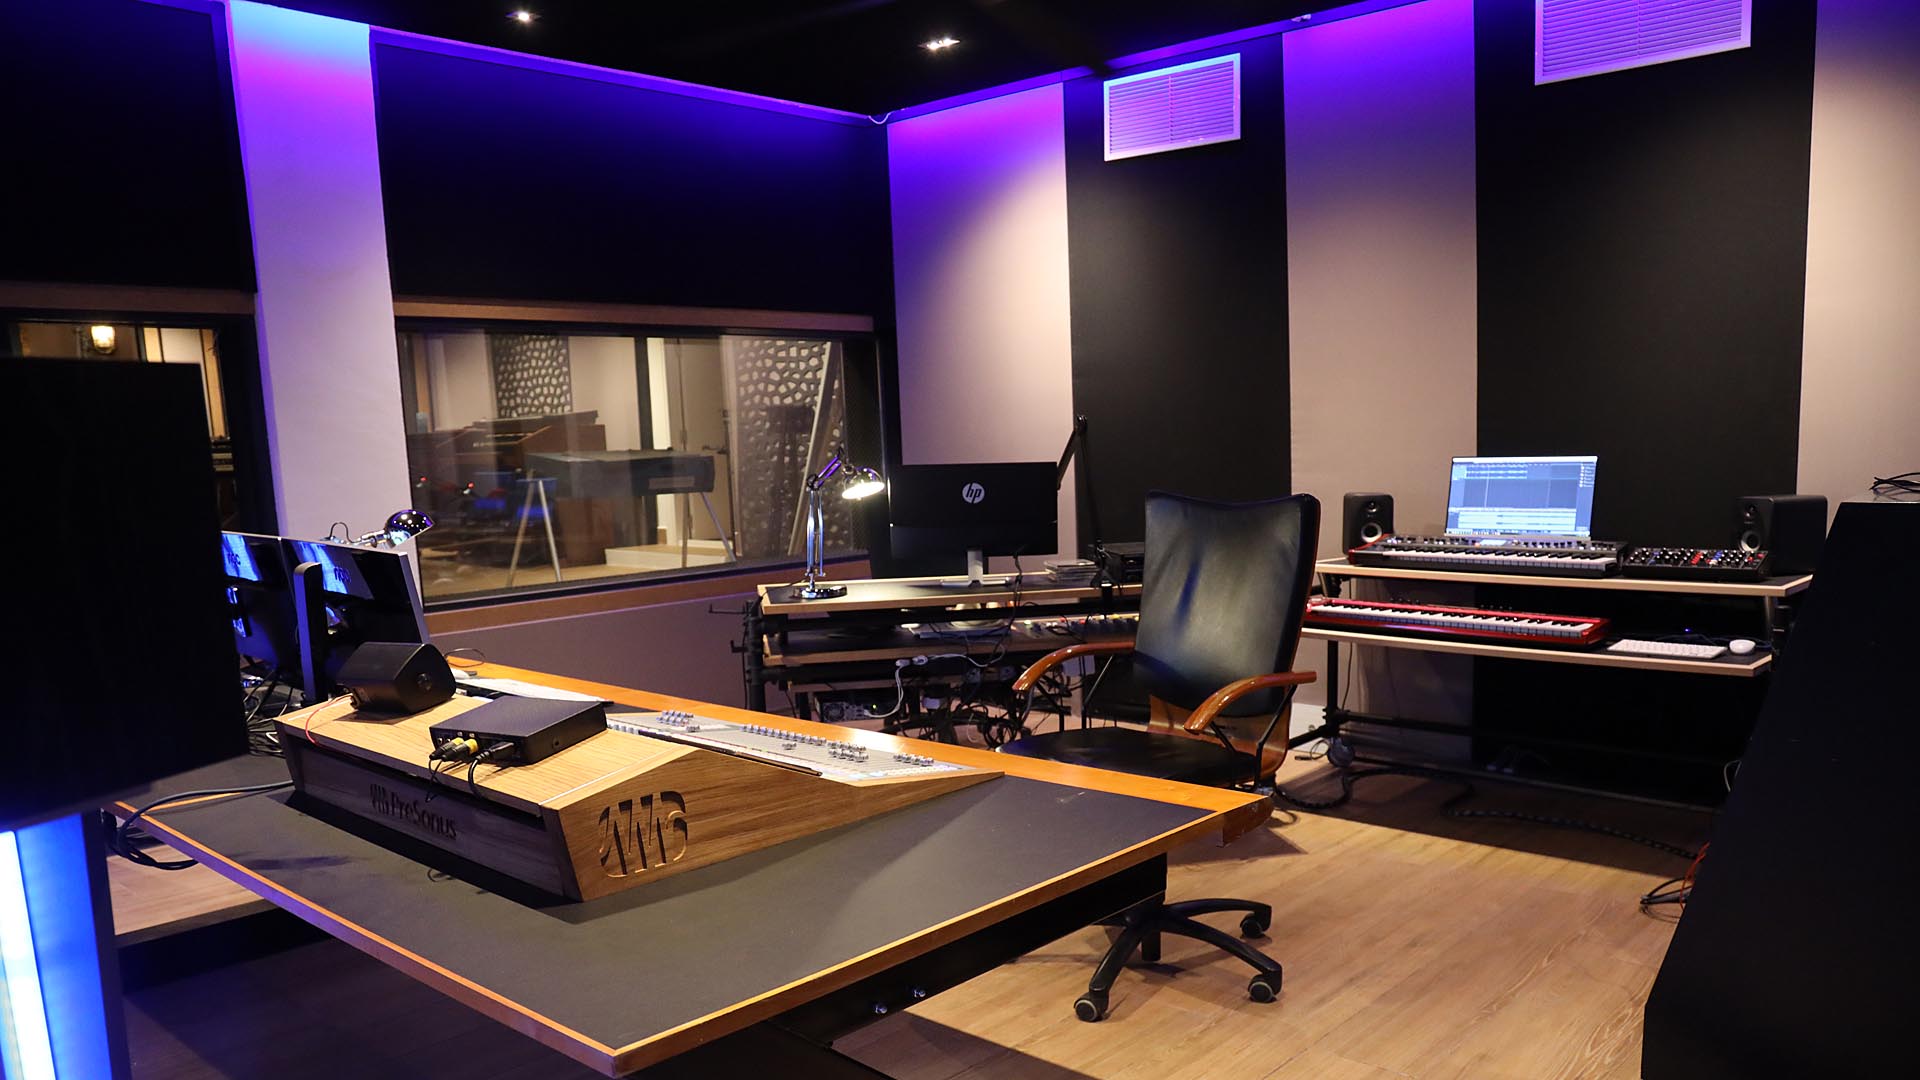
Studio Floor Plan

Final console
Final console

Final console

Final console